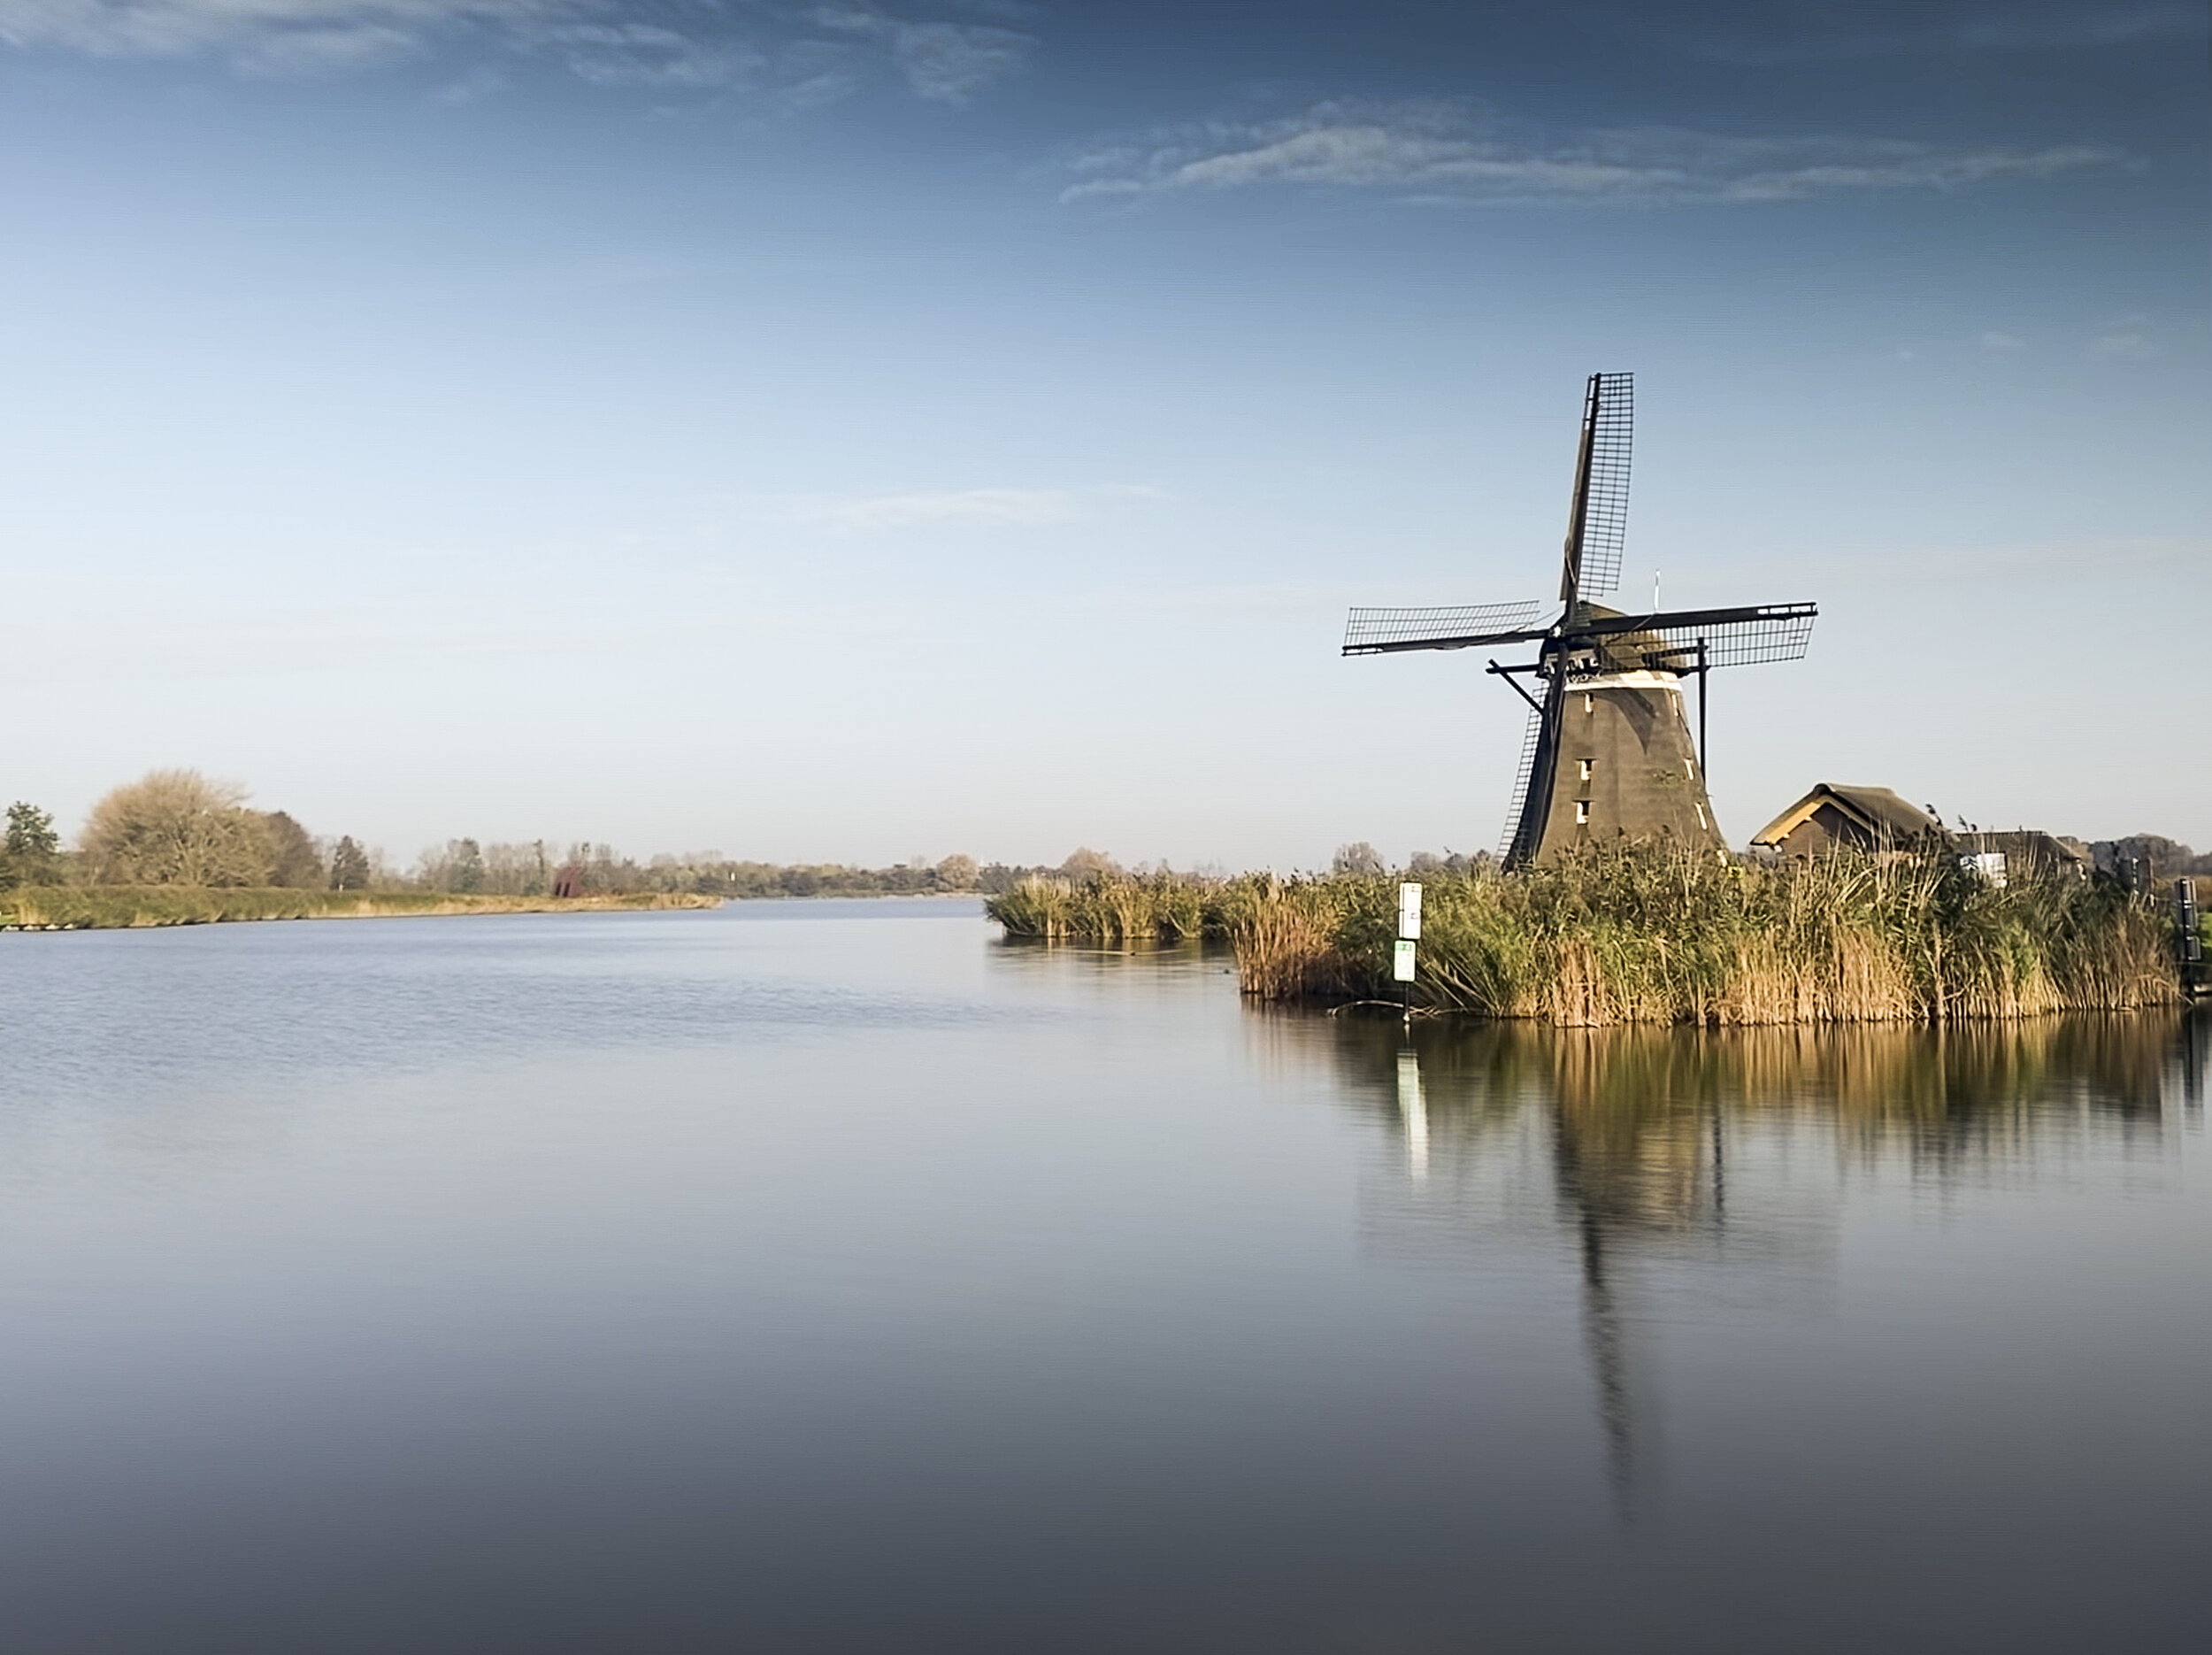
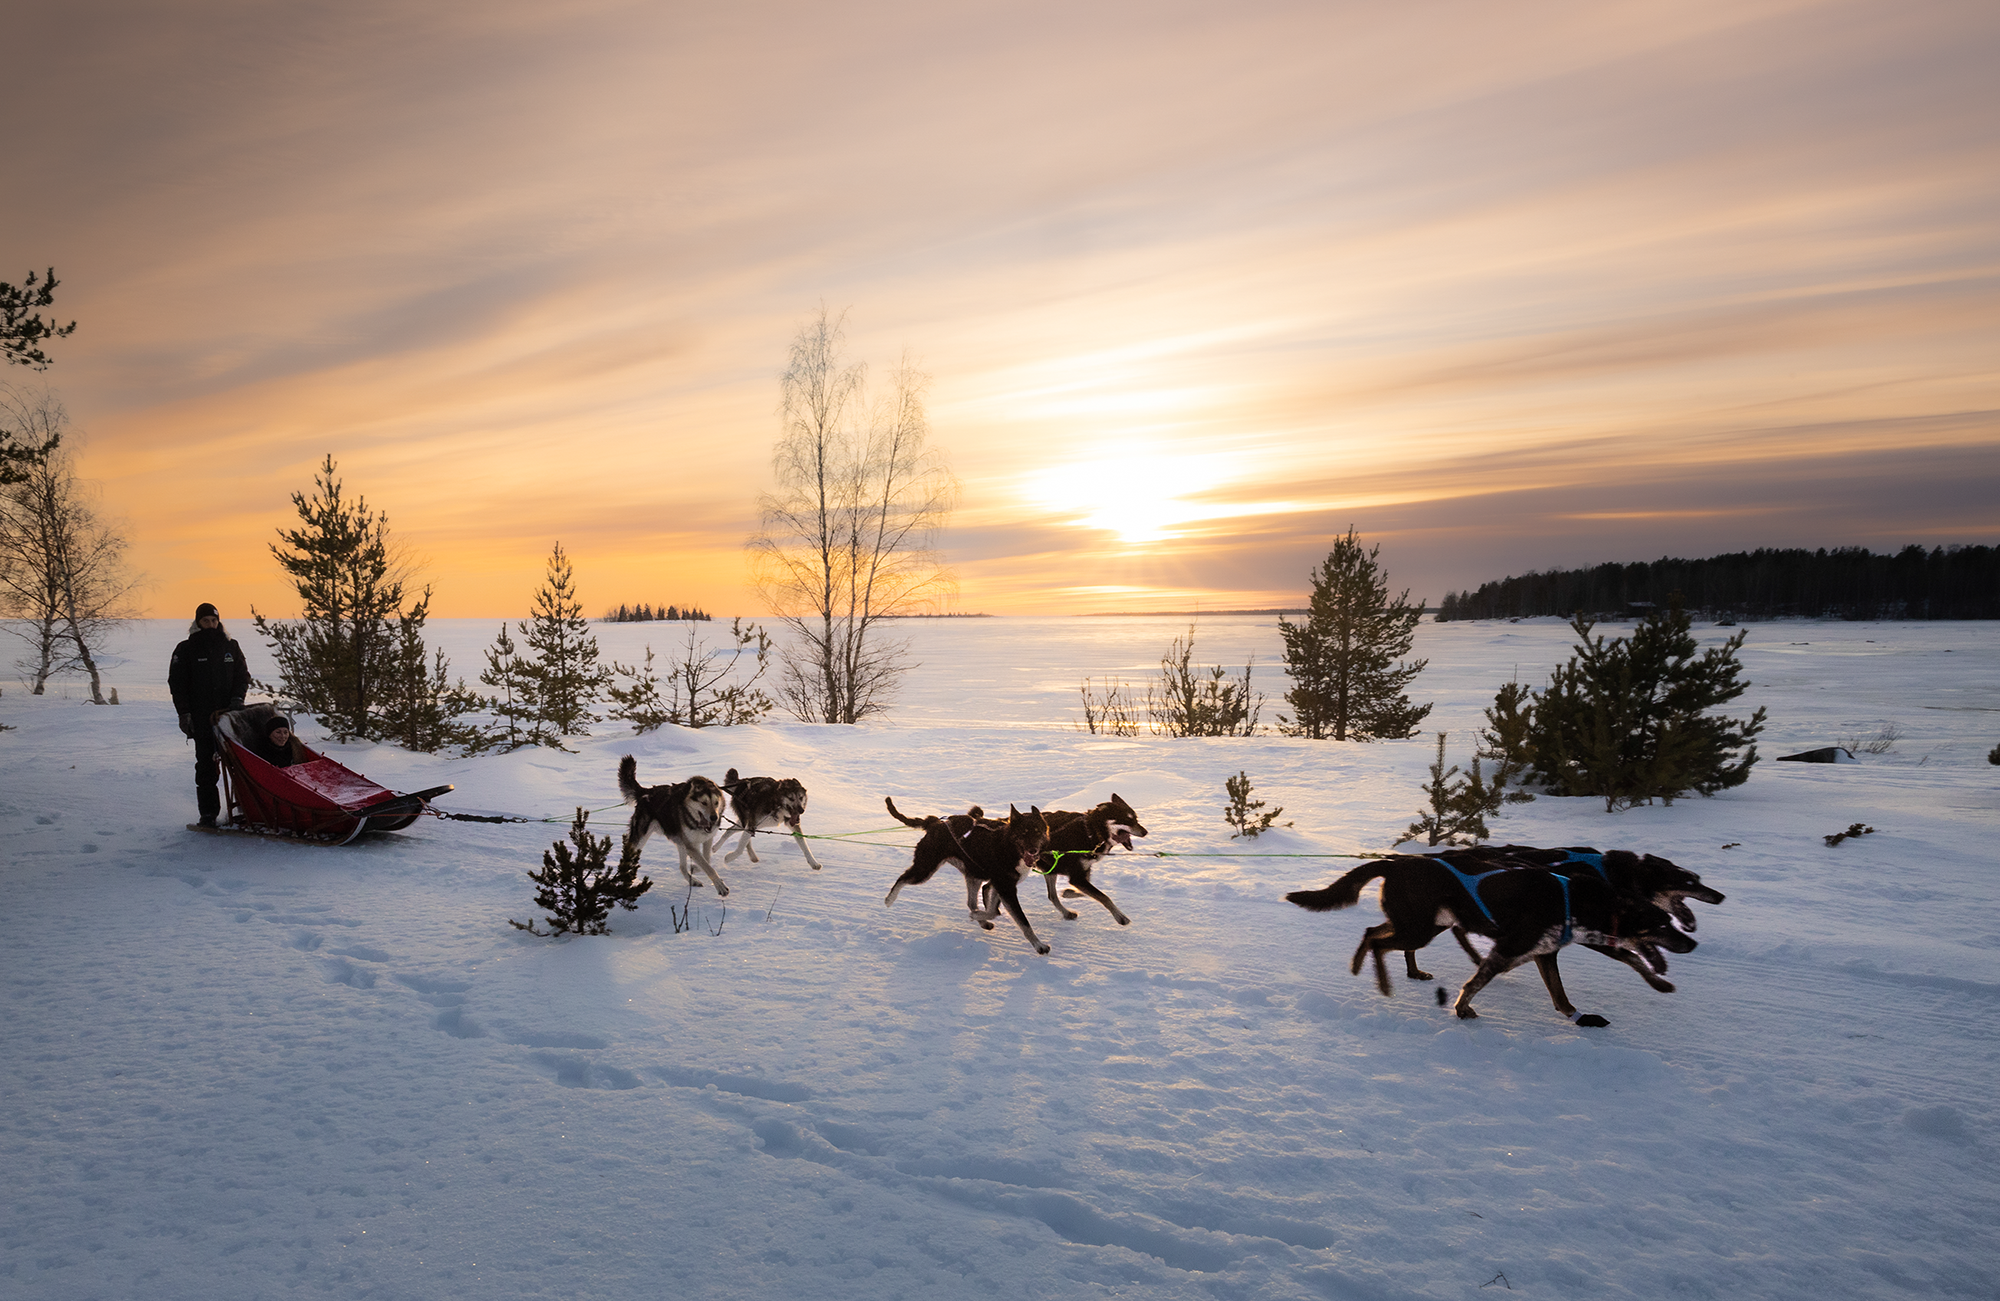
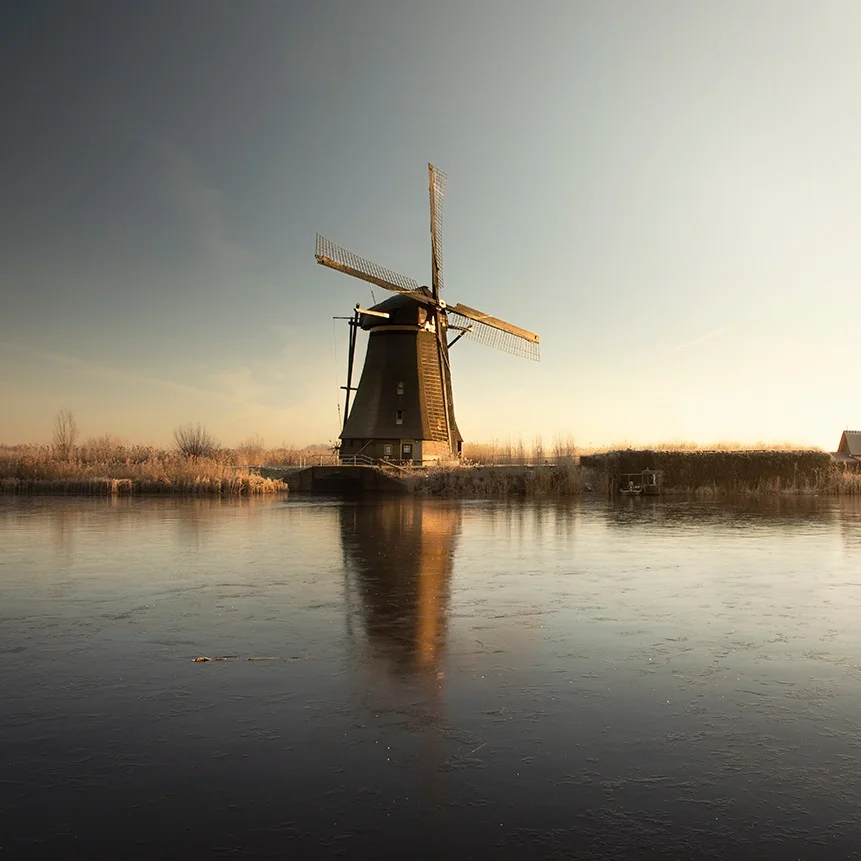
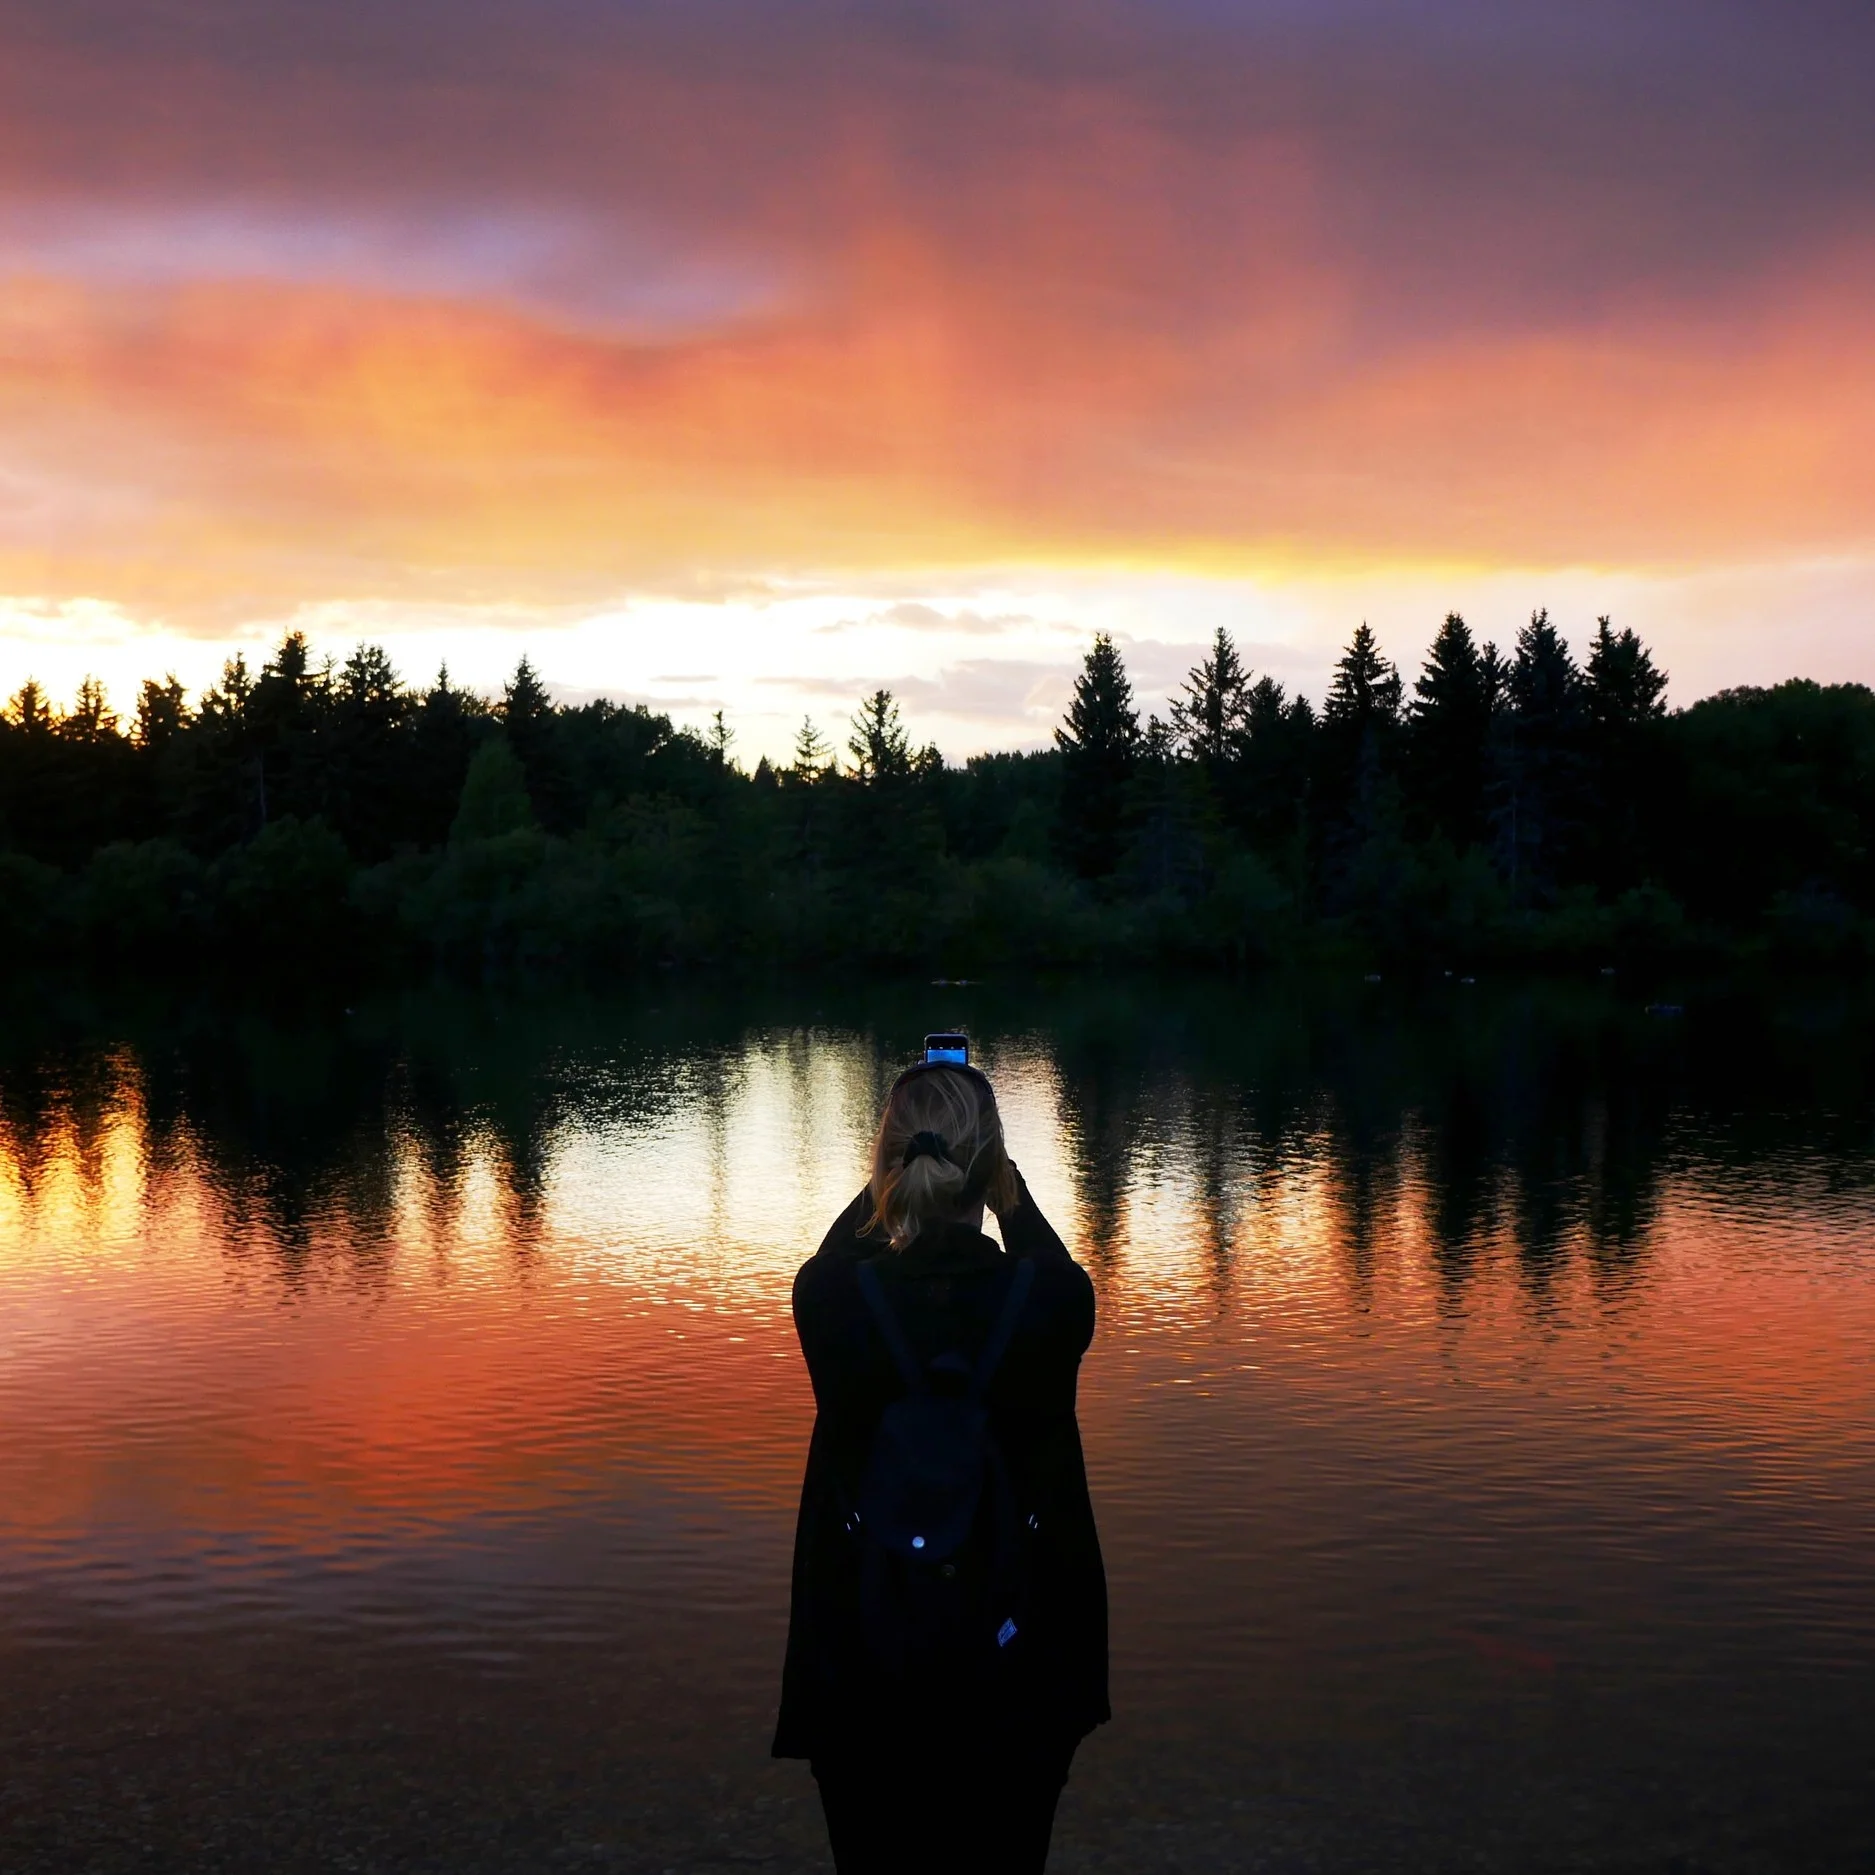
The iPhone has always been my smartphone of choice. Over the years, I have owned every new model and upgrade that has appeared on the market and noted each time, when using it, just how good the camera has become, with its modifications and new integrations. The iPhones have always had great camera’s, but on the iPhone 11 Pro, it is something else! After using the iPhone 11 Pro Max every day, I feel Apple have not only taken the Smartphone and its technology to a whole different level. The iPhone can do about almost anything your DLSR camera is capable of! The device has allowed me to focus more on the content I create and help raise the bar higher as a photographer.
In this blog post, I will share my thoughts on the iPhone 11 Pro Max and highlight some of the top tips I have discovered when using its amazing photography features in my landscape photography.
Camera vs iPhone
First of all, of course, is its size. A smartphone you always carry with you, and easy to point and shoot that special moment. More advantages if you compare a smartphone to a camera, is that the iPhone has a very big screen, which comes in two variations of sizes: 5,8 inch and 6,5 inch, which makes editing on the go so much easier. If you are a photographer it can be quite a hassle to transfer your images to the laptop, the raw file editing, exporting and uploading process. But not with the phone, where you just shoot (edit) and share. Another thing you do not have to worry about when shooting with an iPhone, are the settings. Everything is set to make the perfect picture, and the phone ‘thinks’ for you. It is a great way to focus more on the content you would like to create, which eventually will lead to different choices in your work. Also, there are so many editing apps available that even if you do not choose the right setting, the editing will make sure the picture will turn out perfect. Also, the built-in GPS is perfect to keep track of where all your pictures were taken, on what day and on what time.
Camera specs iPhone 11 pro max
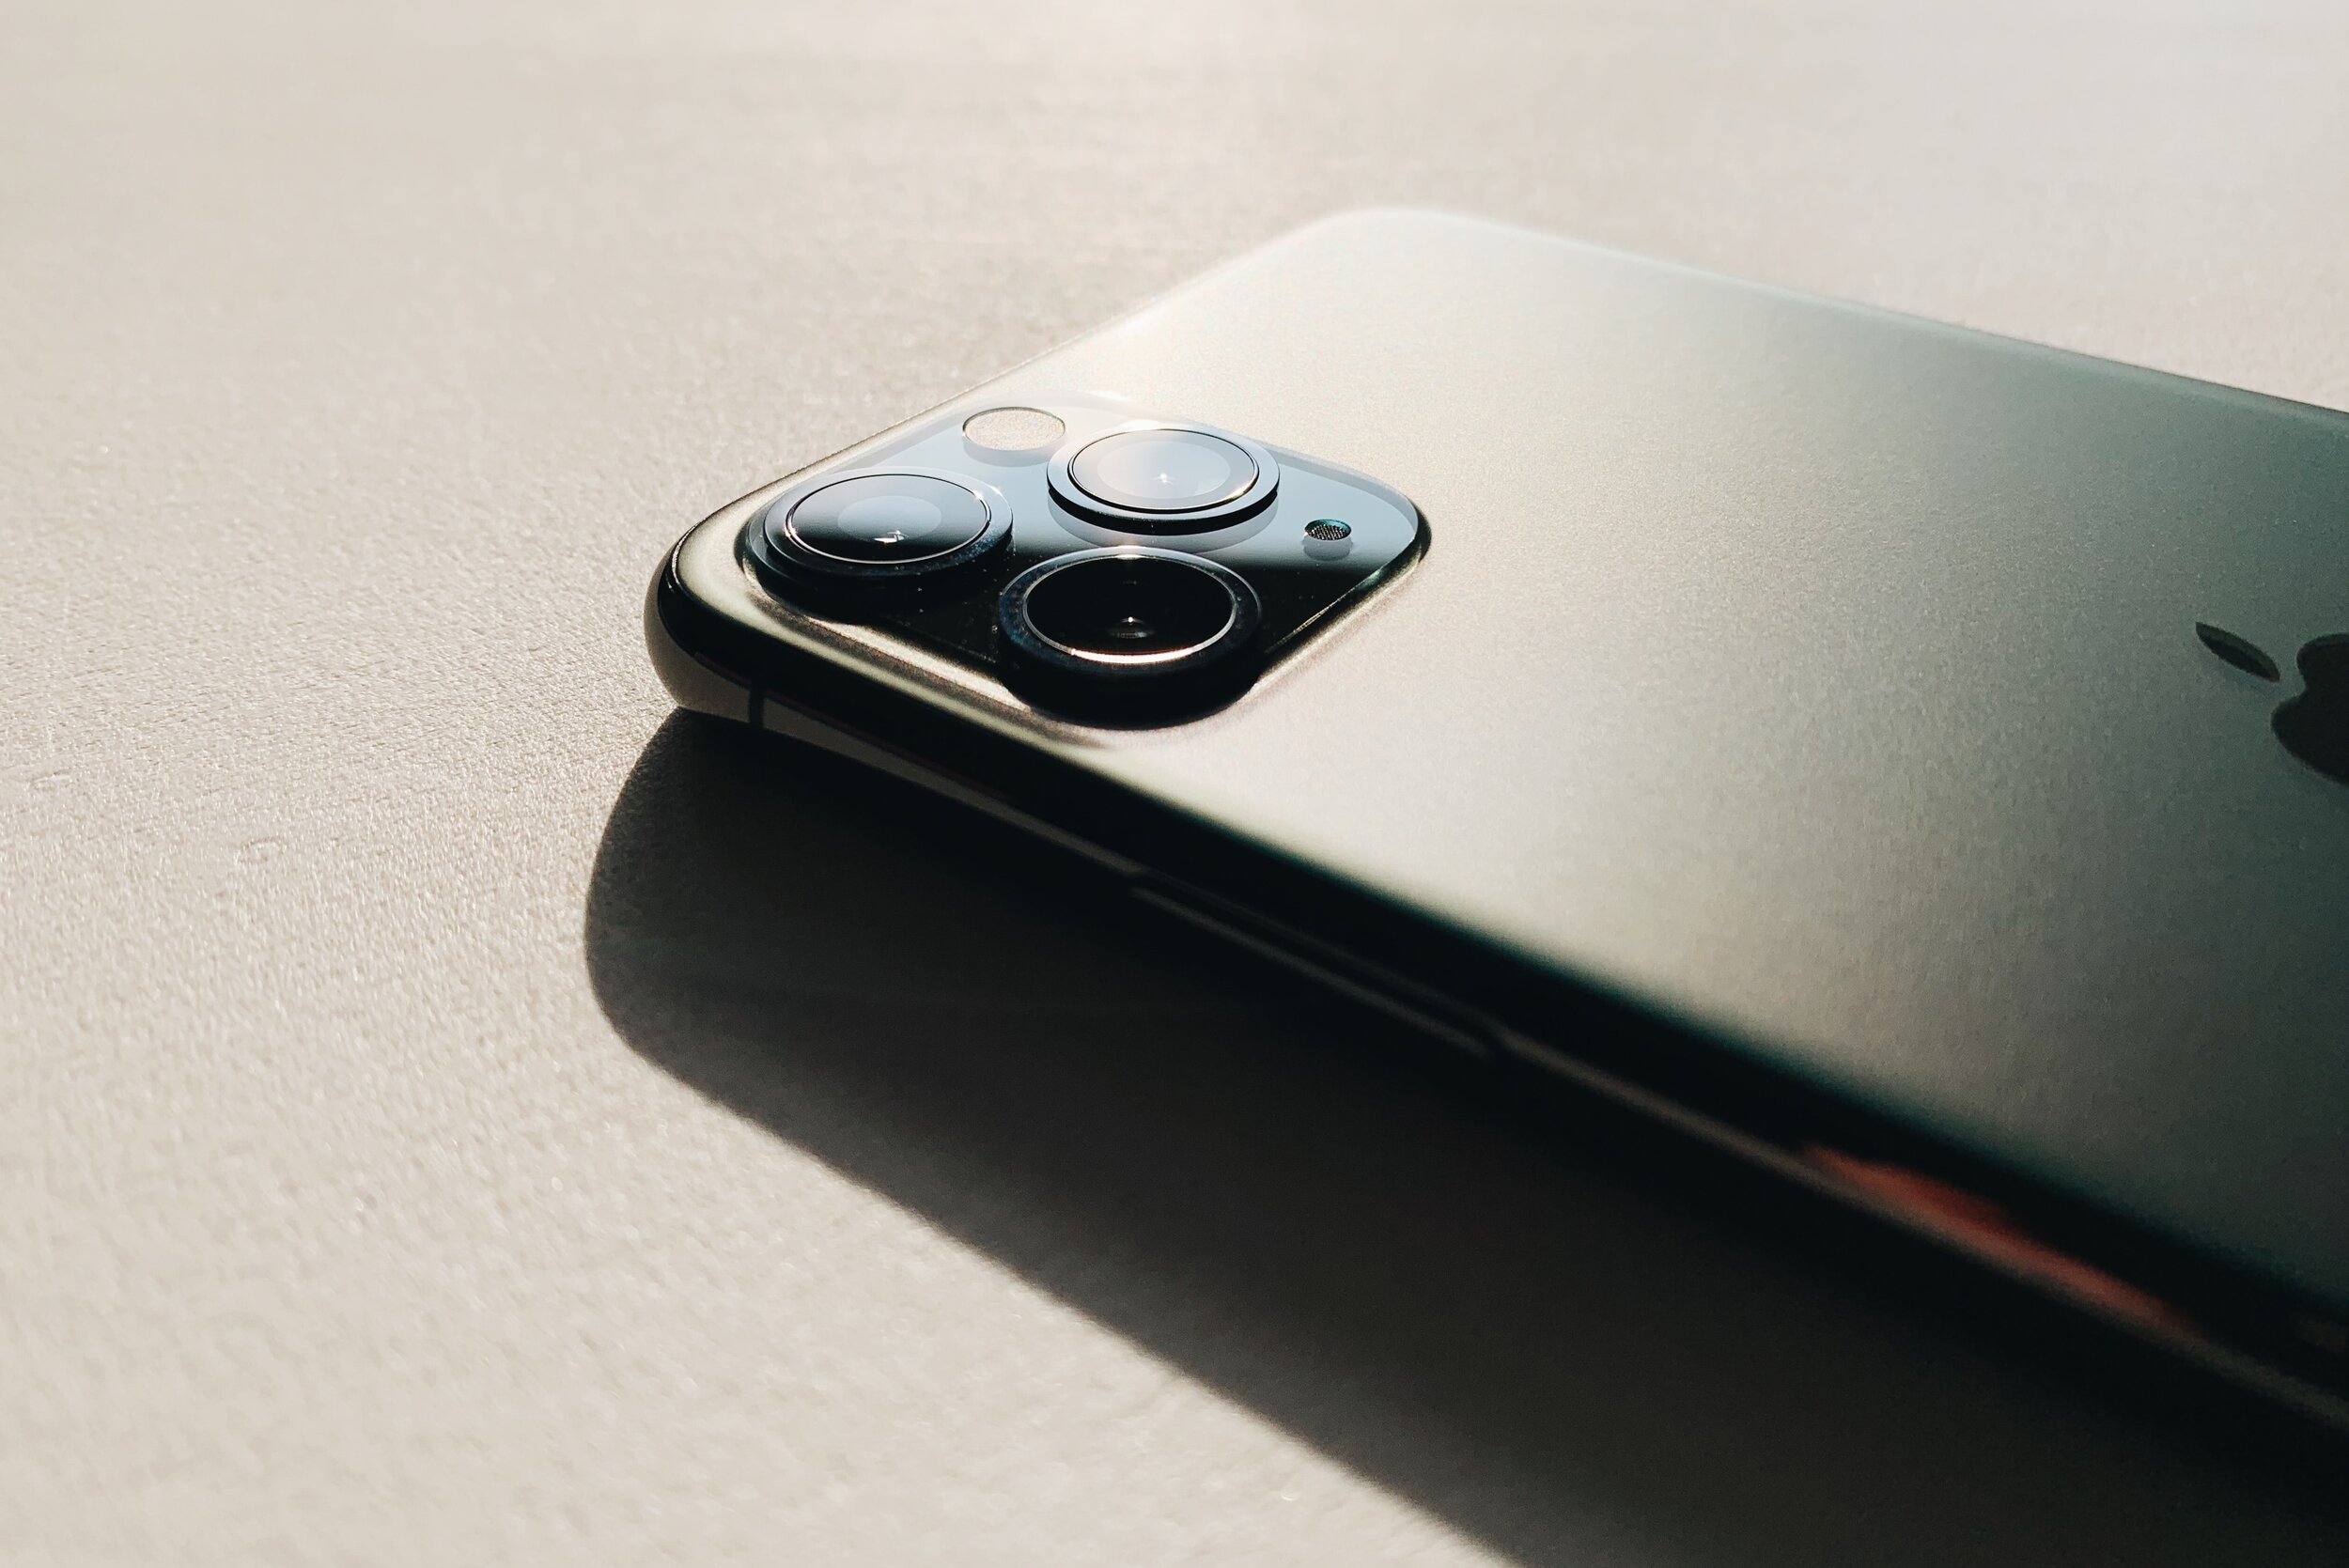
The major new feature in the iPhone 11 is an upgraded dual-lens camera system. The iPhone has a unique 12 megapixels triple camera setup on the back of the phone:
- Regular camera | 26mm f/1.8 | Optical image stabilization
- Ultra-wide camera | 13mm f/2.4 | 120-degree field of view
- Telephoto / portrait lens | 52mm f/2.0 | Optical image stabilization.
The phone has also been optimized for low-light settings with the help of a new Night Mode, which makes it perfect to shoot any landscapes even after sunset. More light is captured and this results in great pictures. Also, the Super Retina OLED screen creates a very realistic and perfectly clear view of your images.
Lenses on the iPhone 11 pro max
The iPhone lenses cover a range from 13 to 52mm, which makes this phone compared to any other smartphone, one of the best camera’s out there and perfect for any form of landscape photography. For one, there is an opportunity for all these different perspectives. Sometimes, you will take pictures from really nearby, and other times you will be photographing a vast landscape. So unlike a DSLR camera, with an iPhone there is no need to switch physical lenses, you can just switch between lenses using the built-in Camera-app. Check out the differences and how it affects the landscape image when zooming in and out:
HDR possibilities
Most photographers are familiar with HDR, which stands for ‘High Dynamic Range’. It basically is a range of differently exposed photographs merged together in one single shot. A range that couldn’t otherwise be achieved in a single photograph. Shooting in HDR is perfect to get those details in your landscapes and is, therefore, a much-used tool. HDR has been on iPhones since 2018, which helps you to take better pictures than ever before, especially when there is a big contrast between light and shadows in the picture. When you use HDR on your iPhone, the camera makes three photos in a row, which are then combined to make one best possible photo. But if you use the Smart HDR (which is now on the iPhone 11 Pro Max) you do not get three photos in a row, but nine! And yes, nine pictures means a better end result. I always take a picture in HDR, to see the potential in the picture at first glance before I take it with a DSLR. To select HDR mode, tap on the HDR symbol that appears in the right top of your screen when you have opened your camera. Click on it to activate and deactivate. For Smart HDR, go to your camera settings and swipe the tab.
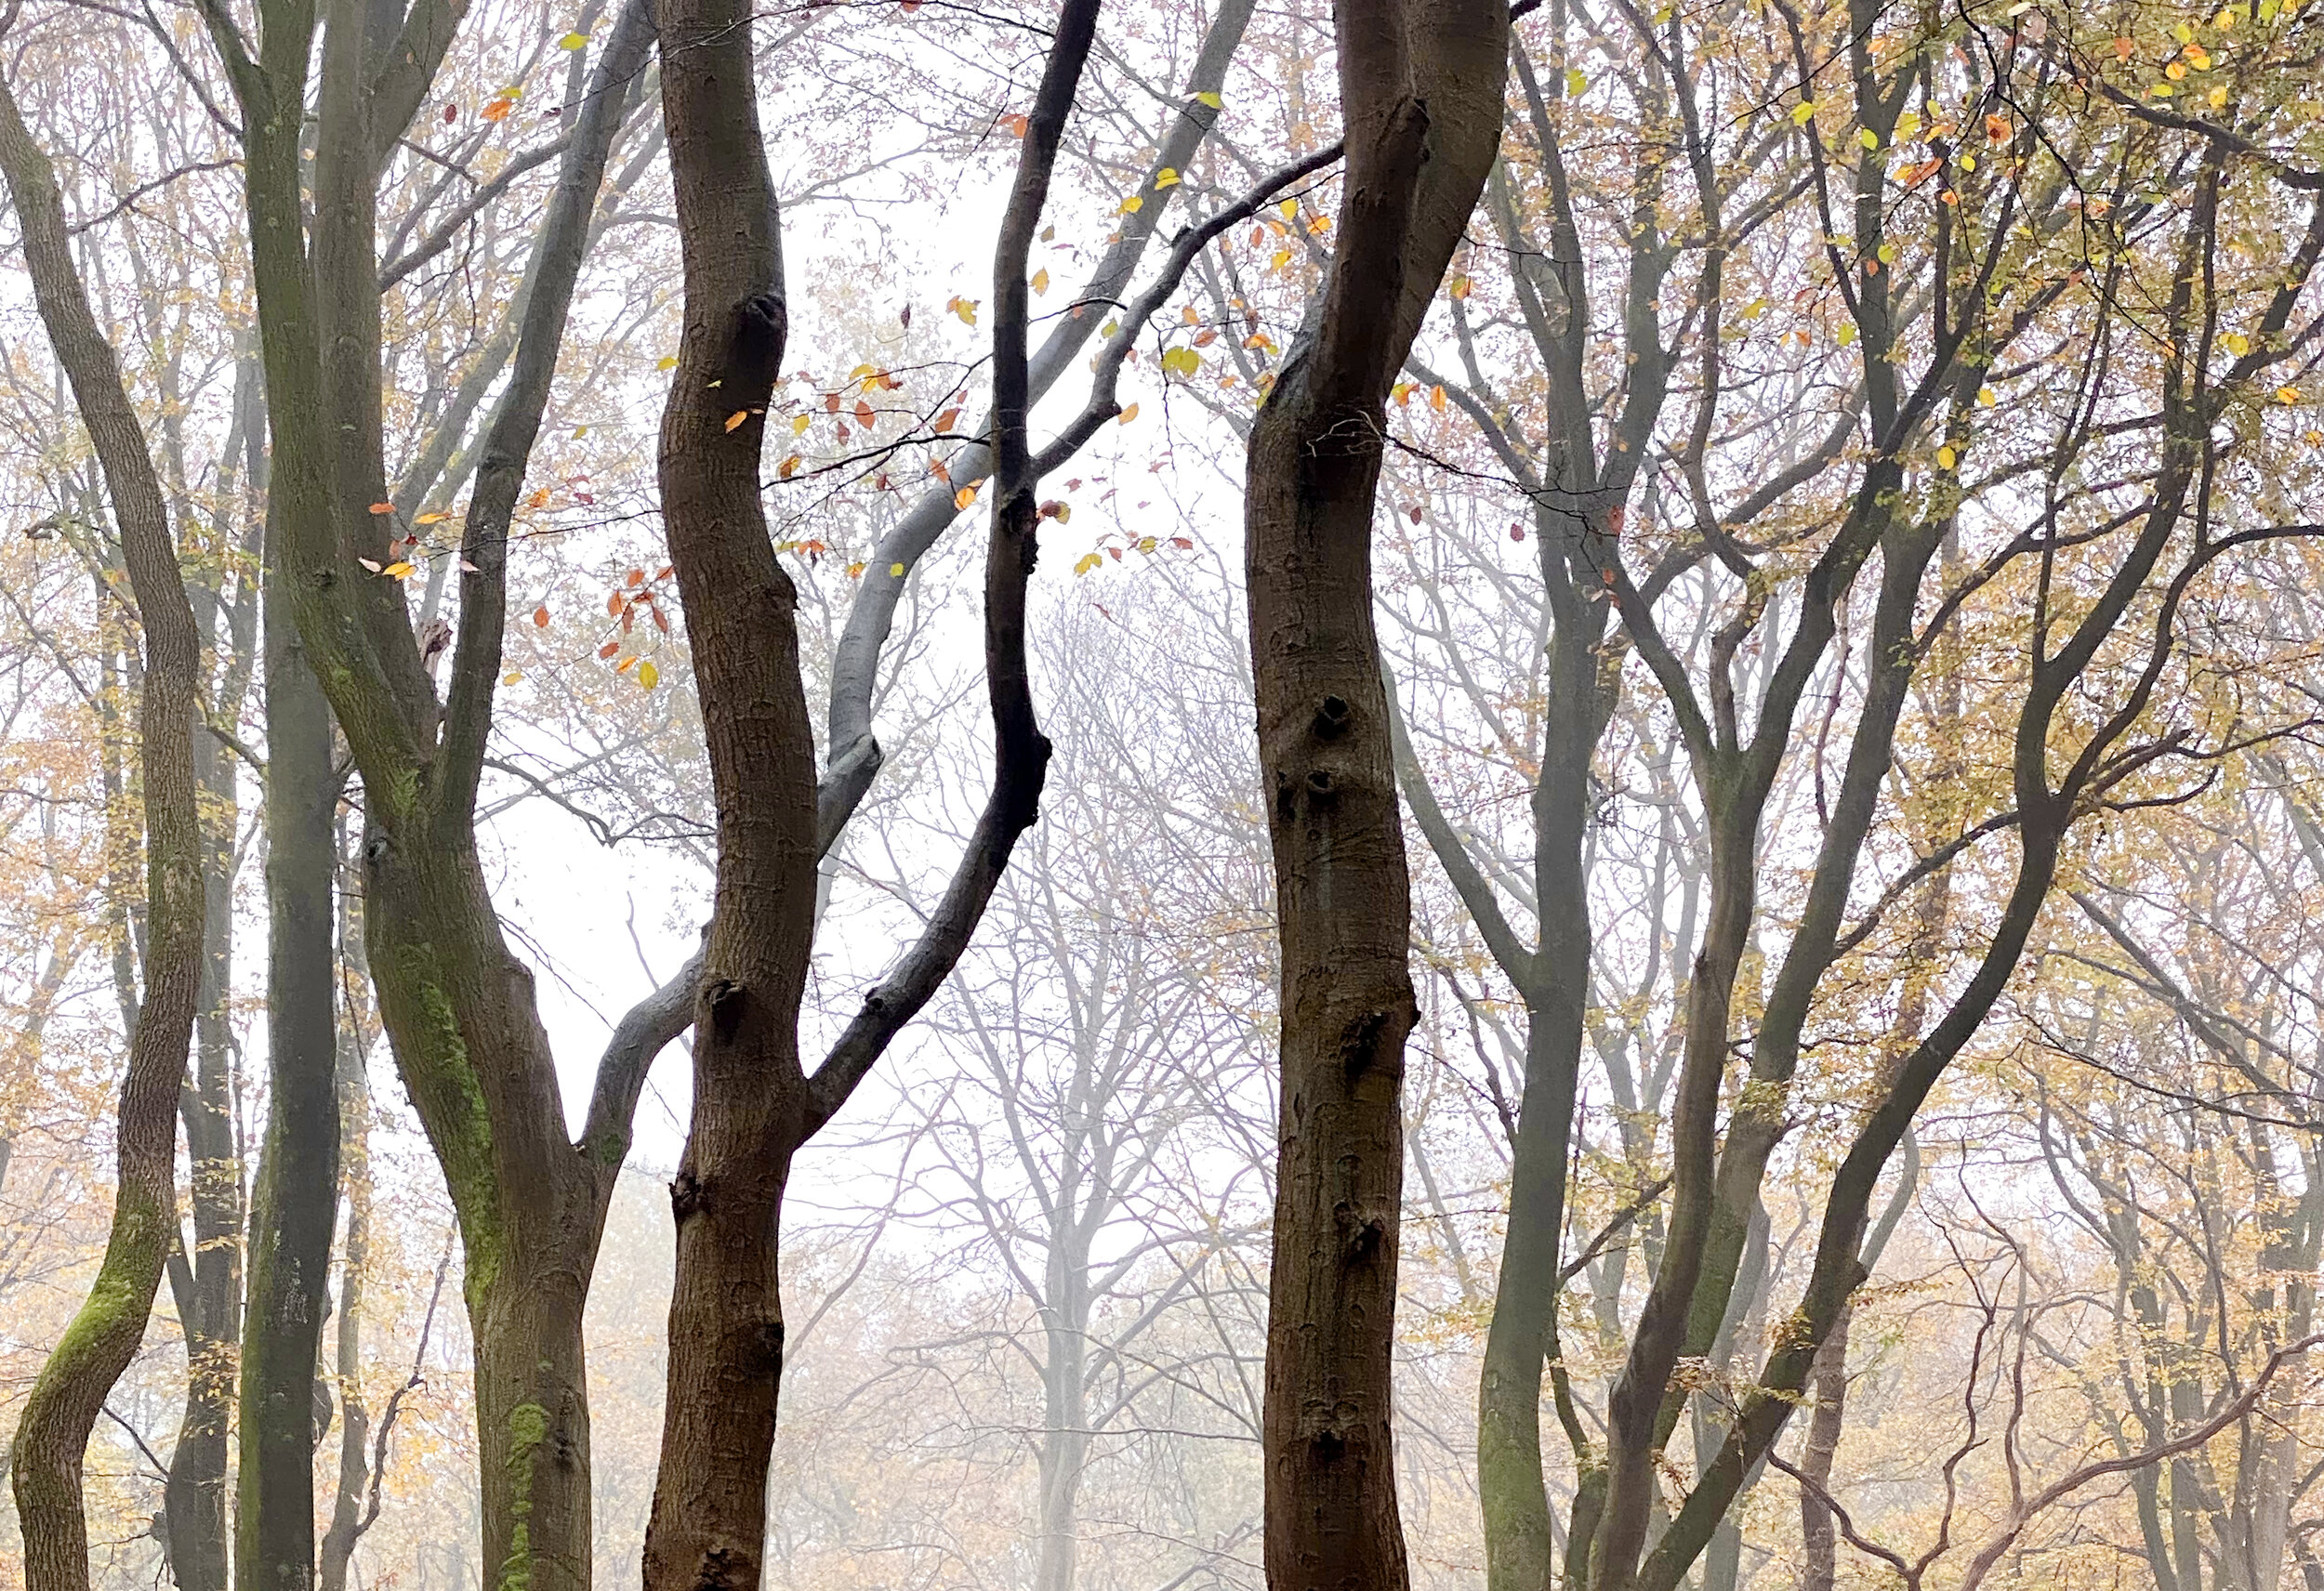
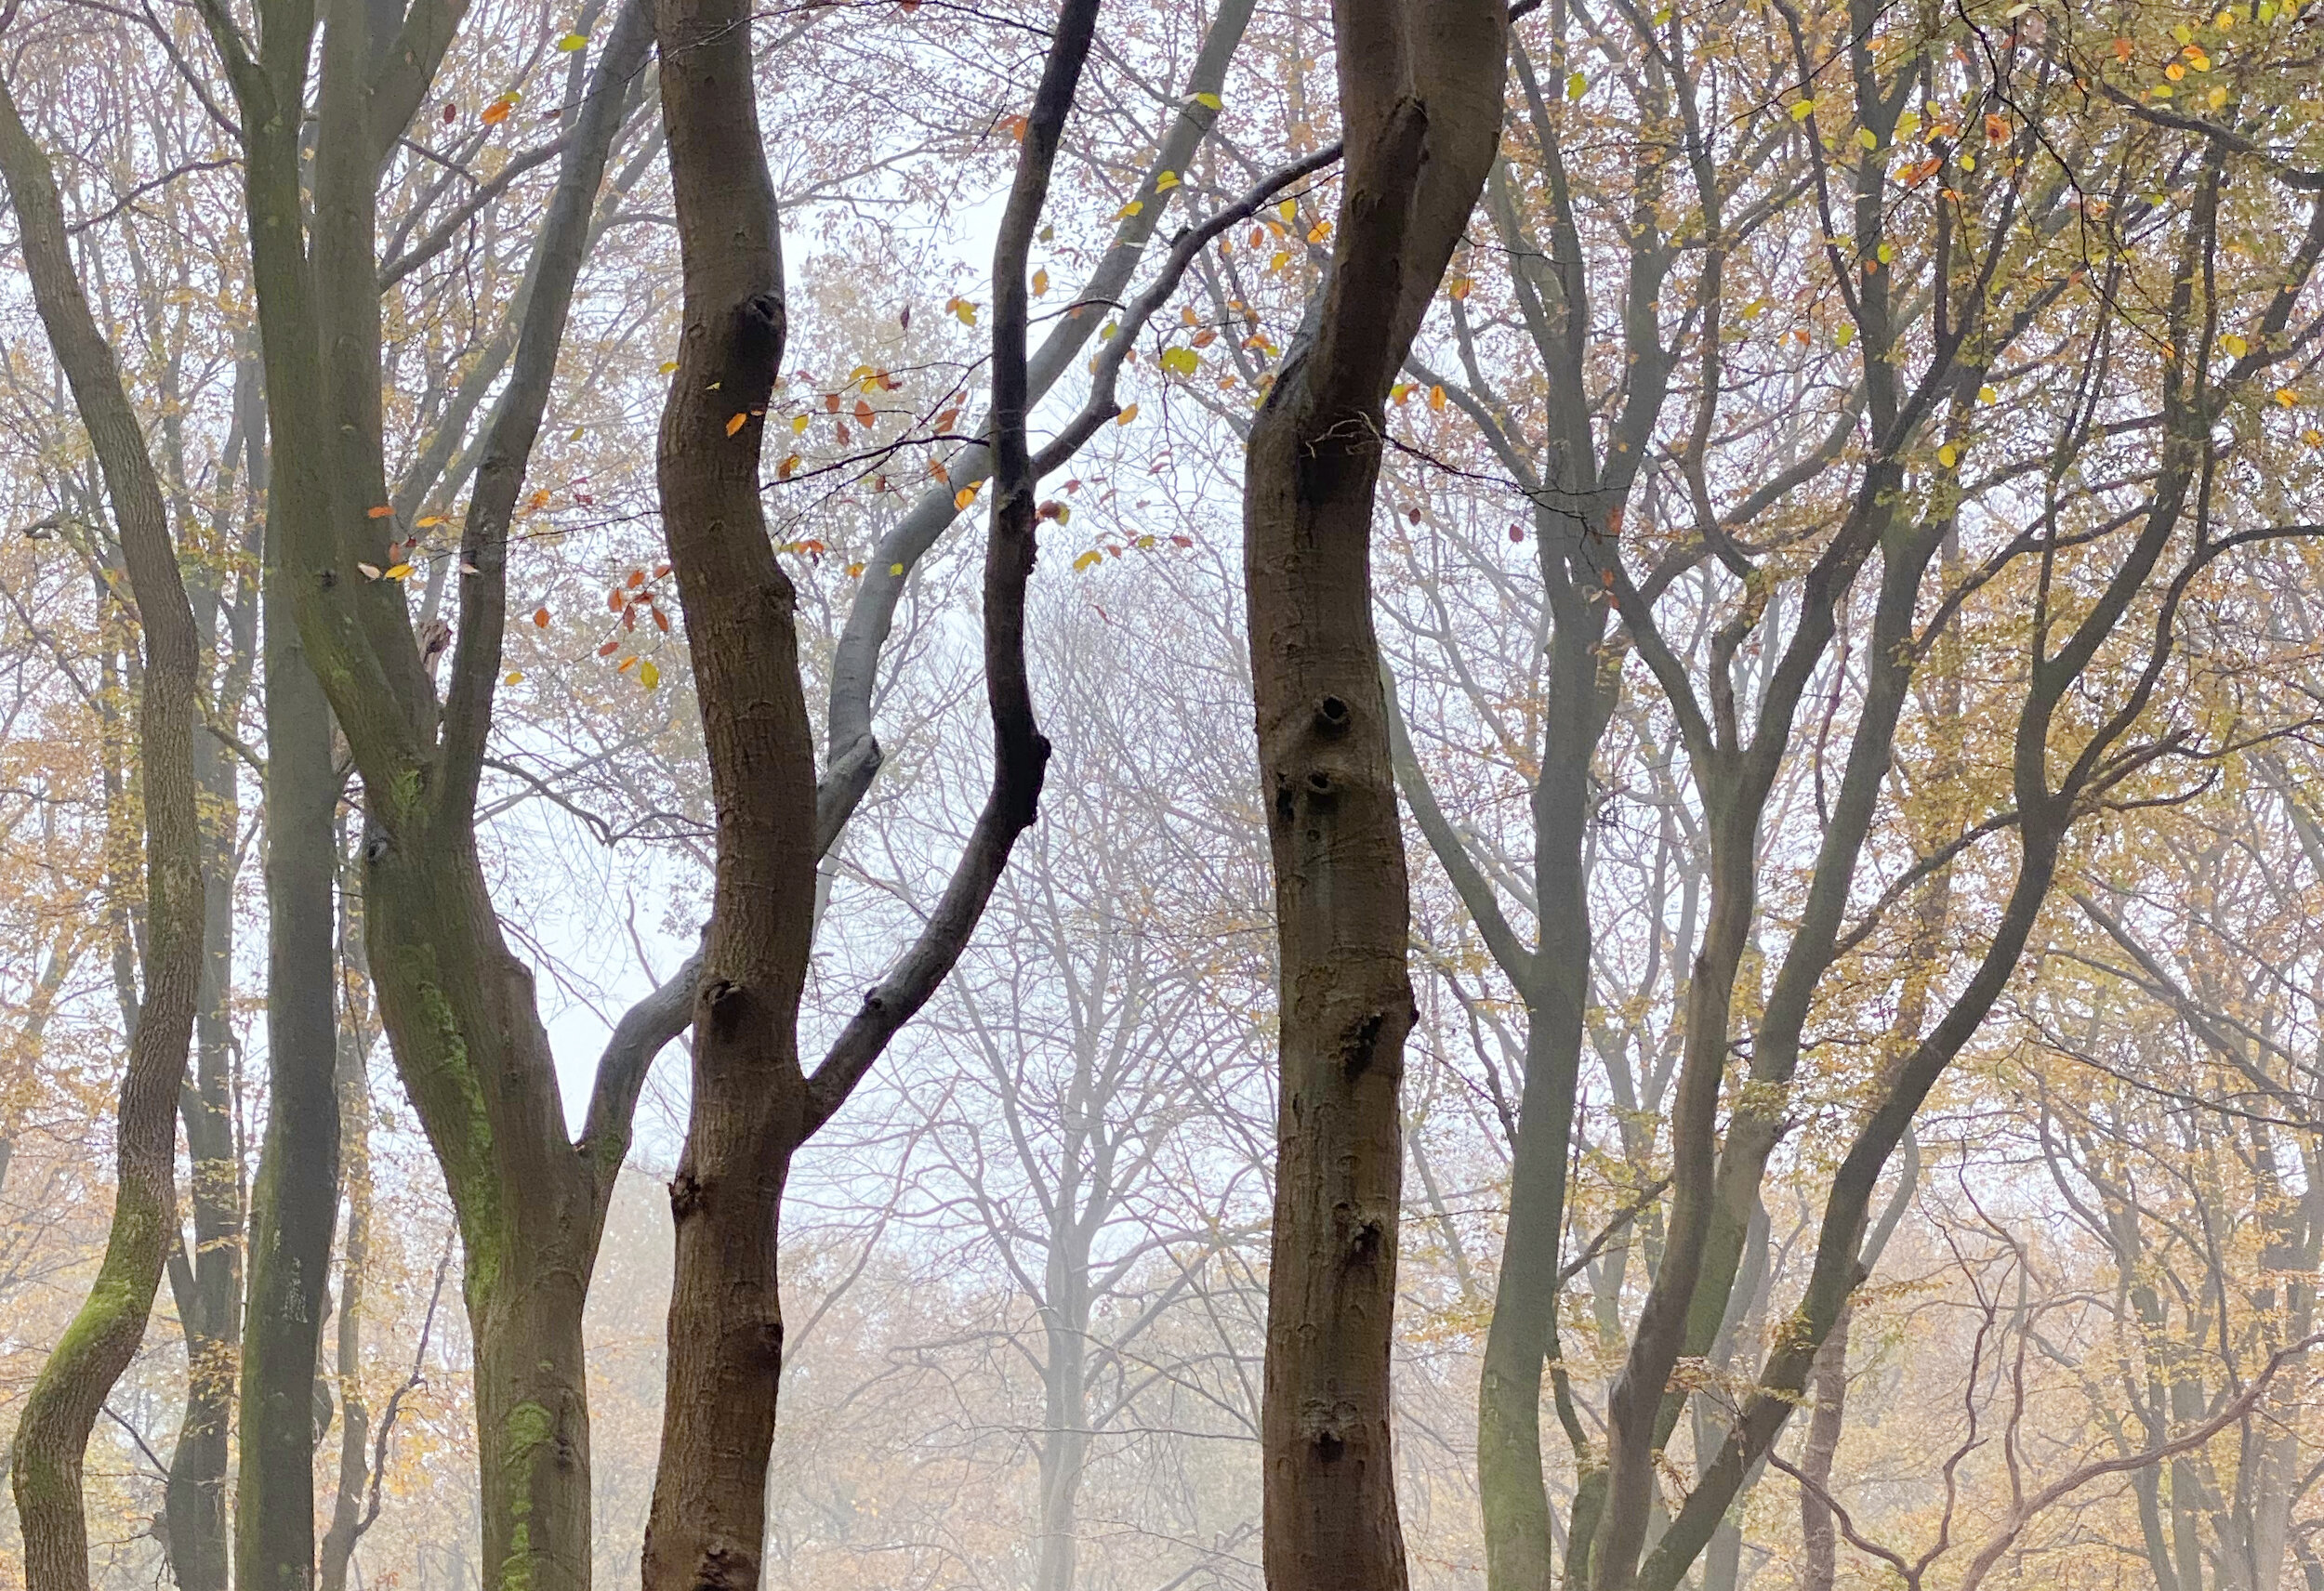
See the differences here, particularly in the sky, with HDR off and on:
Live Photos and long exposure
If you are taking pictures or video’s with the iPhone’s live function, you will get a high-quality picture, but it is more than just a picture. A few seconds before taking the picture and a few seconds after will be made into this very short movie. If you are then looking back at the picture you took, and place your hand on the picture for more than a second, it will play the Live Photo, combined with sound even!
An incredible feature when shooting live photos on the phone is the long exposure effect. I use this quite frequently -since I love simplicity in my photographs-, to see if a location is worth long exposing. I can do this in a second now, to see the stunning effects without having to take out my tripod and filters first! To select the Live Photo mode, tap on the circles that appear in the right top of your screen when you have opened your camera. When it says ‘LIVE’, you are good to go!
- take a picture of something that moves, let’s say, water.
- have a look at the picture you have just taken, and swipe upwards on this picture.
At the bottom of the screen will appear a few effects. Select ‘long exposure’ to alter all the moving parts and change them into blurry lines. You can create this stunning effect in a second!
Here you can see an image and the difference when using the long exposure effect:
Panorama mode
Panorama is a camera feature that allows you to take a picture in an extended landscape frame. You can use this feature when you have to capture a view that doesn’t fit in the normal frame of your camera. Panorama is captured by taking a picture and then moving the camera to the right to capture the view. By default, the direction to pan is left to right, but you can always change this to left and even up and down! Here is how:
- open the camera app and swipe left to go to panorama mode
- press the camera button
- keep your iPhone straight as possible
- move your phone slowly to the right / left in portrait mode, or up / down in landscape mode. Your phone will tell you when you are moving too fast. Make sure the white arrow stays aligned with the yellow line.
- press the camera button again when you have finished your photograph
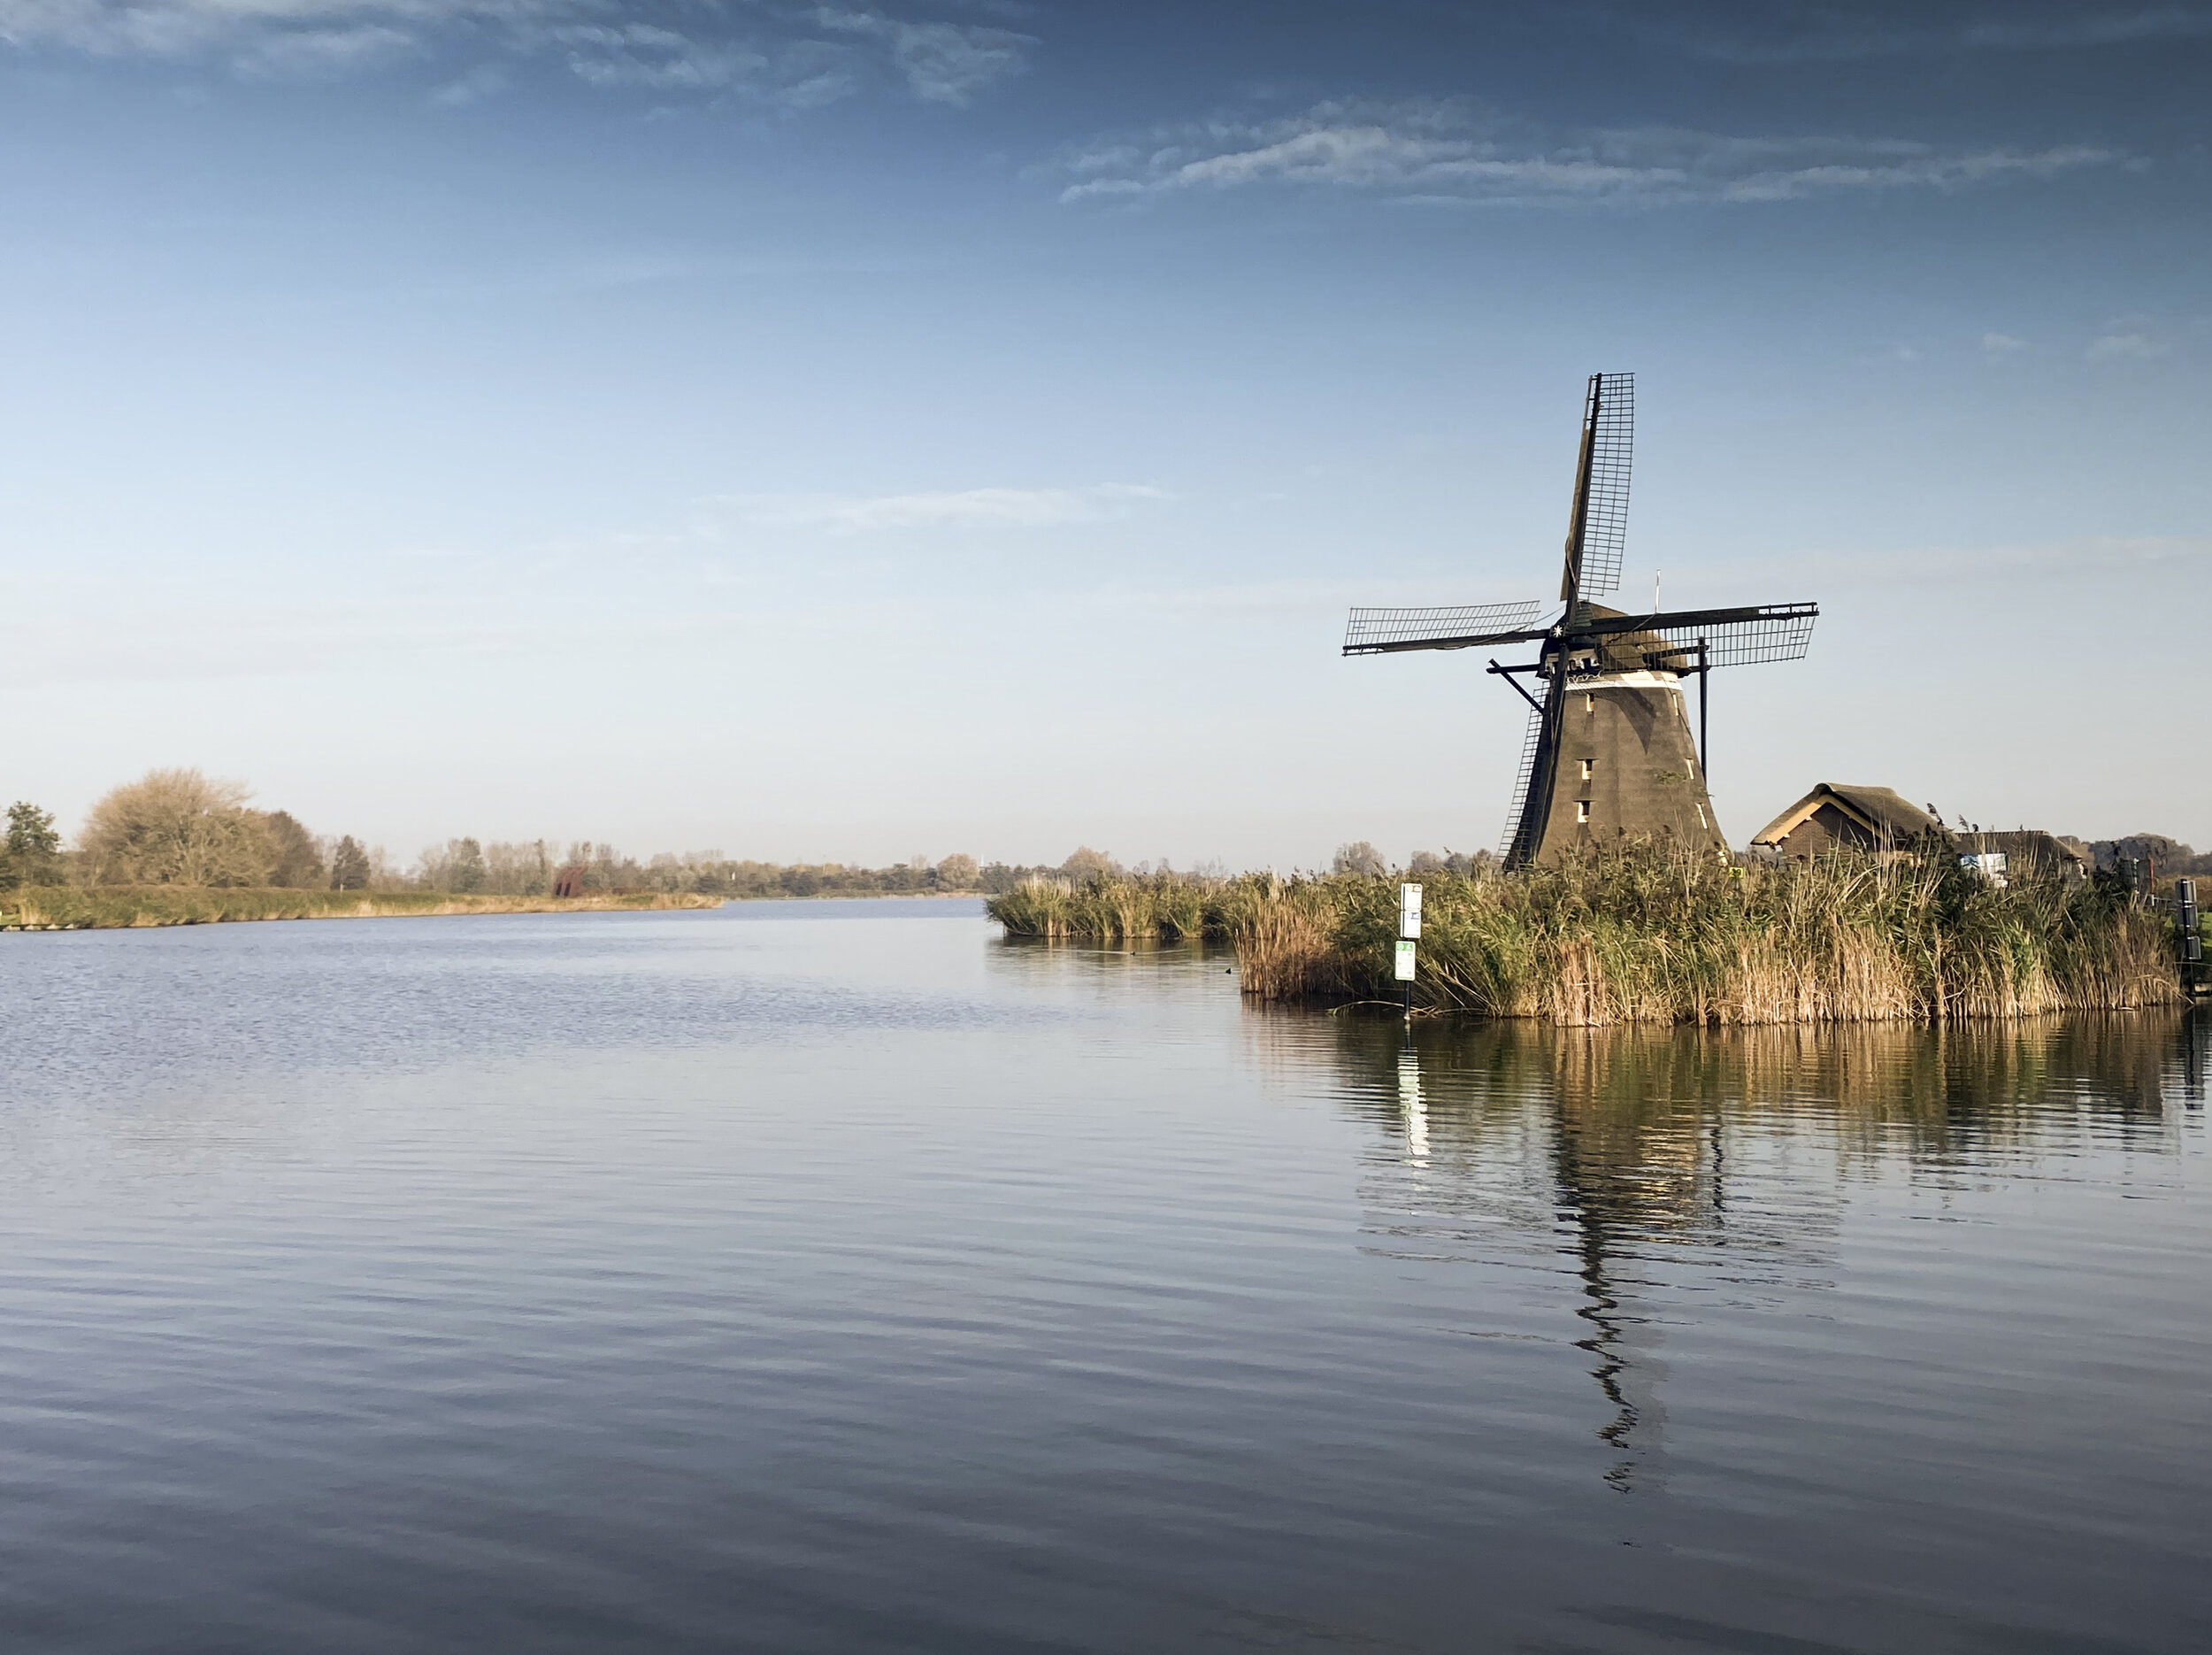
Some of the images that I have taken with the iPhone 11 Pro Max:
A selection of images I took with the Iphone 11 Pro Max. I will continue to share more of my #shotoniphone content on my Instagram feed, where you can see a fair and balanced reflection of what I create out in my local area or further afield. Find them here #shotoniphone_claireonline.
Night mode in low light situations
One of the impressive features on the iPhone 11 Pro camera systems is the Night Mode, which works automatically! It starts working when your phone detects that there is not much light around and then switches on the night mode. It is a great feature that allows me to now also capture images after sunset, or in a dark forest. You can check whether or not it is turned on when you look at the ‘moon’ symbol in the top right corner. When this Night Mode icon is yellow, night mode is auto-enabled. While it is possible to make great pictures with little light, do remember it is important to keep your iPhone as steady as possible during the night mode shot, as it will take a little longer to take the picture. Best is to use a small tripod. To try longer Night Mode photos, tap the Night Mode icon. A number appears to indicate how long the shot will take. And do keep in mind the night mode only works with the wide camera and the telephoto camera on the iPhone 11 Pro.
The iPhone’s Night Mode is great for low light situations, like here when I took this image just before sunrise.
Pro tip: take Higher resolution images
Here is a tip to create a high-resolution file. I always do this when I don’t have a DSLR with me, but would like to capture that special moment in a high resolution. This way, I can potentially do more with my image, such as printing. I use the panorama tool in portrait mode, but just make a regular ratio 4x3 photo by taking 2 or 3 photos next to each other. You will get yourself a high-resolution photograph!
Burst mode
When photographing a landscape, there is always some action happening. Birds appear or a deer decides to jump outside your DSLR frame. Acting fast is then very important. This is where my iPhone comes in great. I can quickly reach out for the phone, swipe up for the camera and shoot in Burst Mode to take many pictures really fast. That way, I am sure I never miss that brilliant moment. I look like a ninja in the field, but it works every time. The nice part is that the phone will then select the best photo of them all, considering the light, definition and brightness of the photograph. Or you can choose the best one yourself and delete the photographs you don’t want to save storage space. This is how to use it:
- open the camera app on the iPhone
- press the camera button and then swipe left* (in landscape mode, swipe downwards). Let go of the camera button when you are done taking the pictures. Then take a look at the picture you just took and press ‘select’ if you would like to change the best photo of them all.
Silence series on iPhone
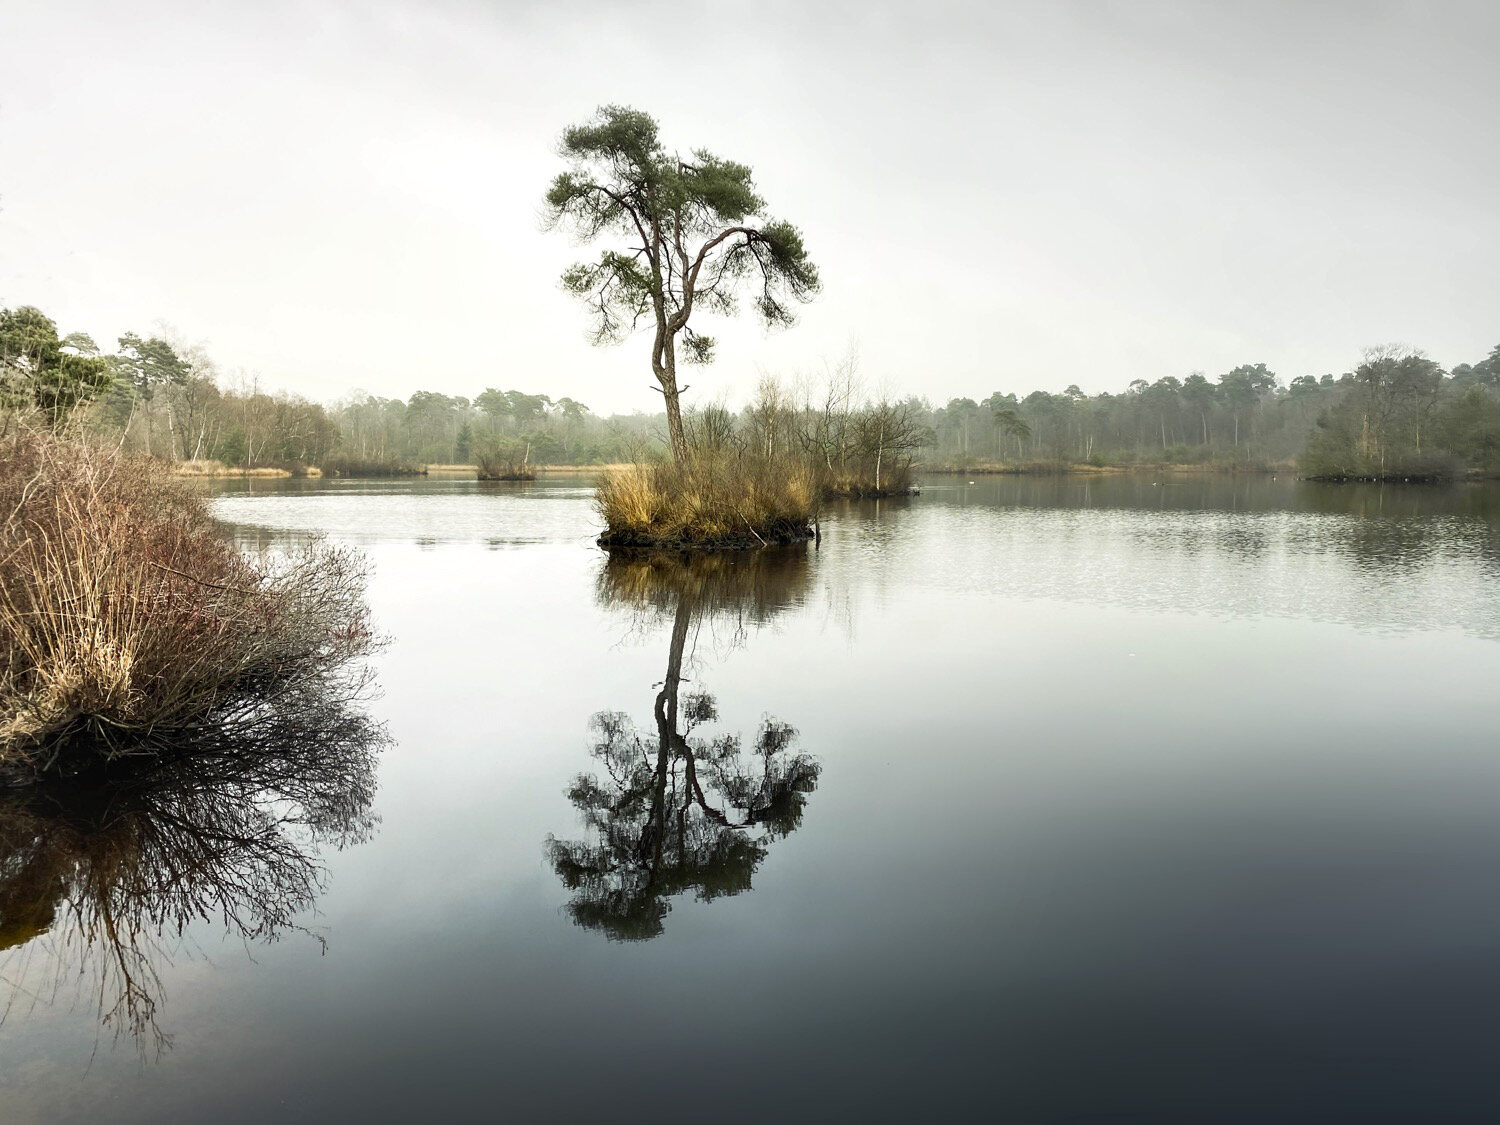
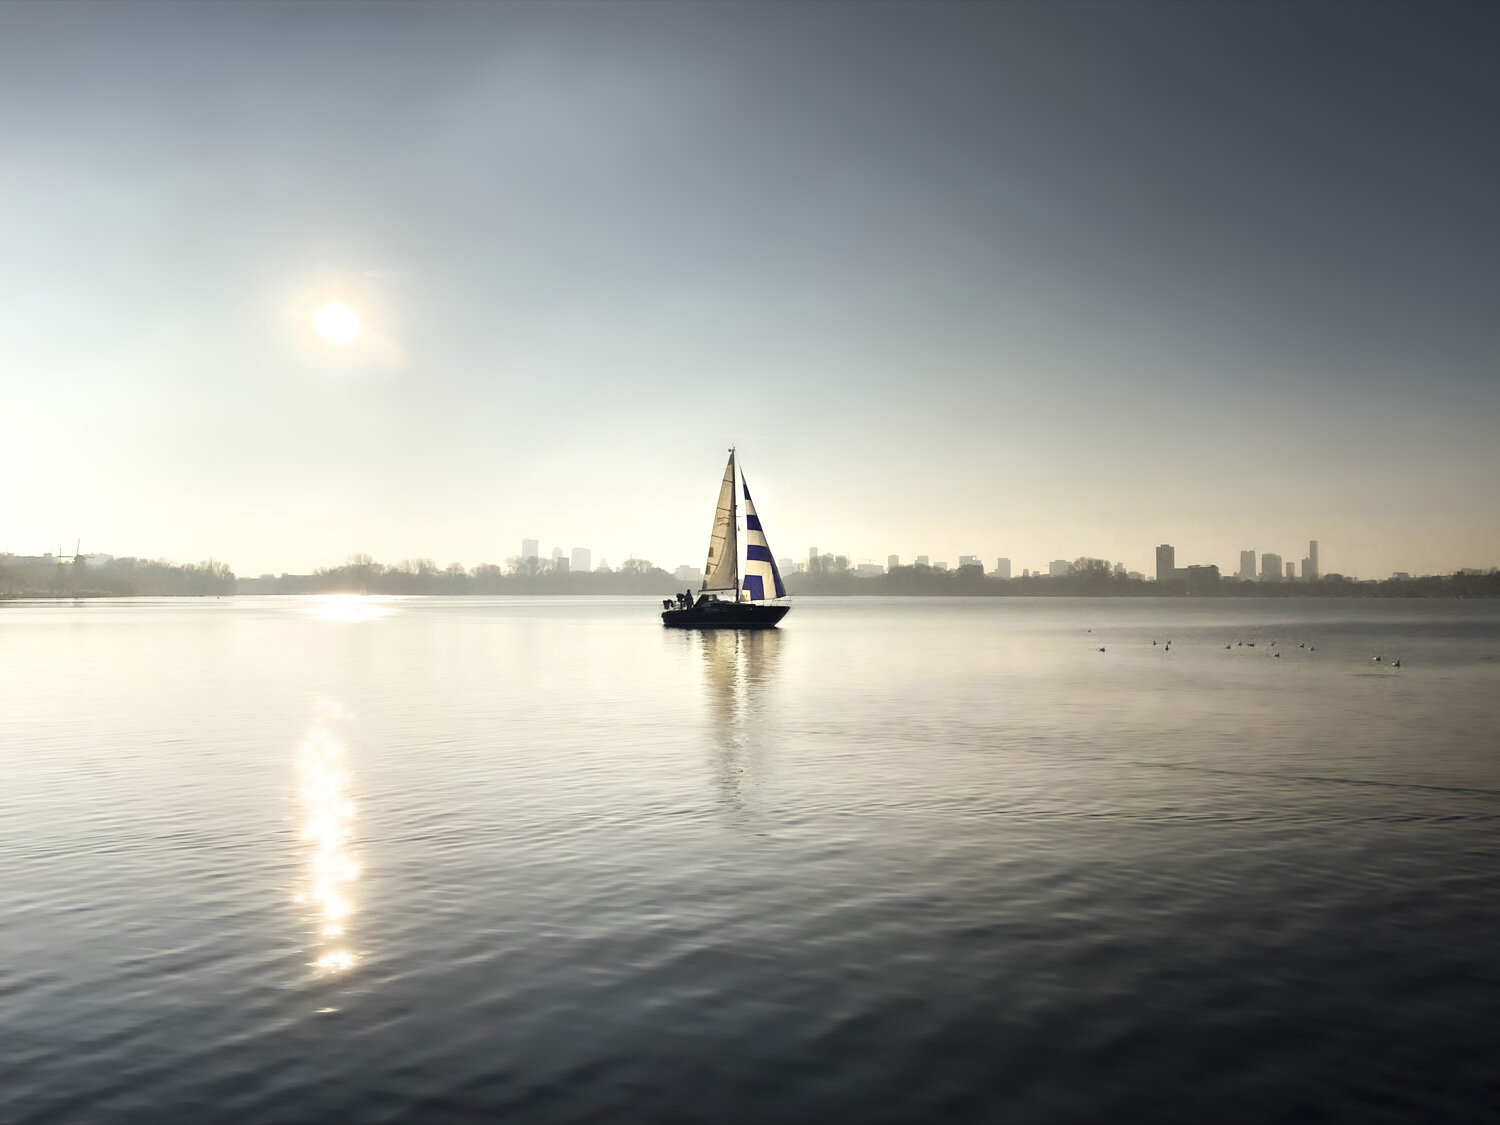
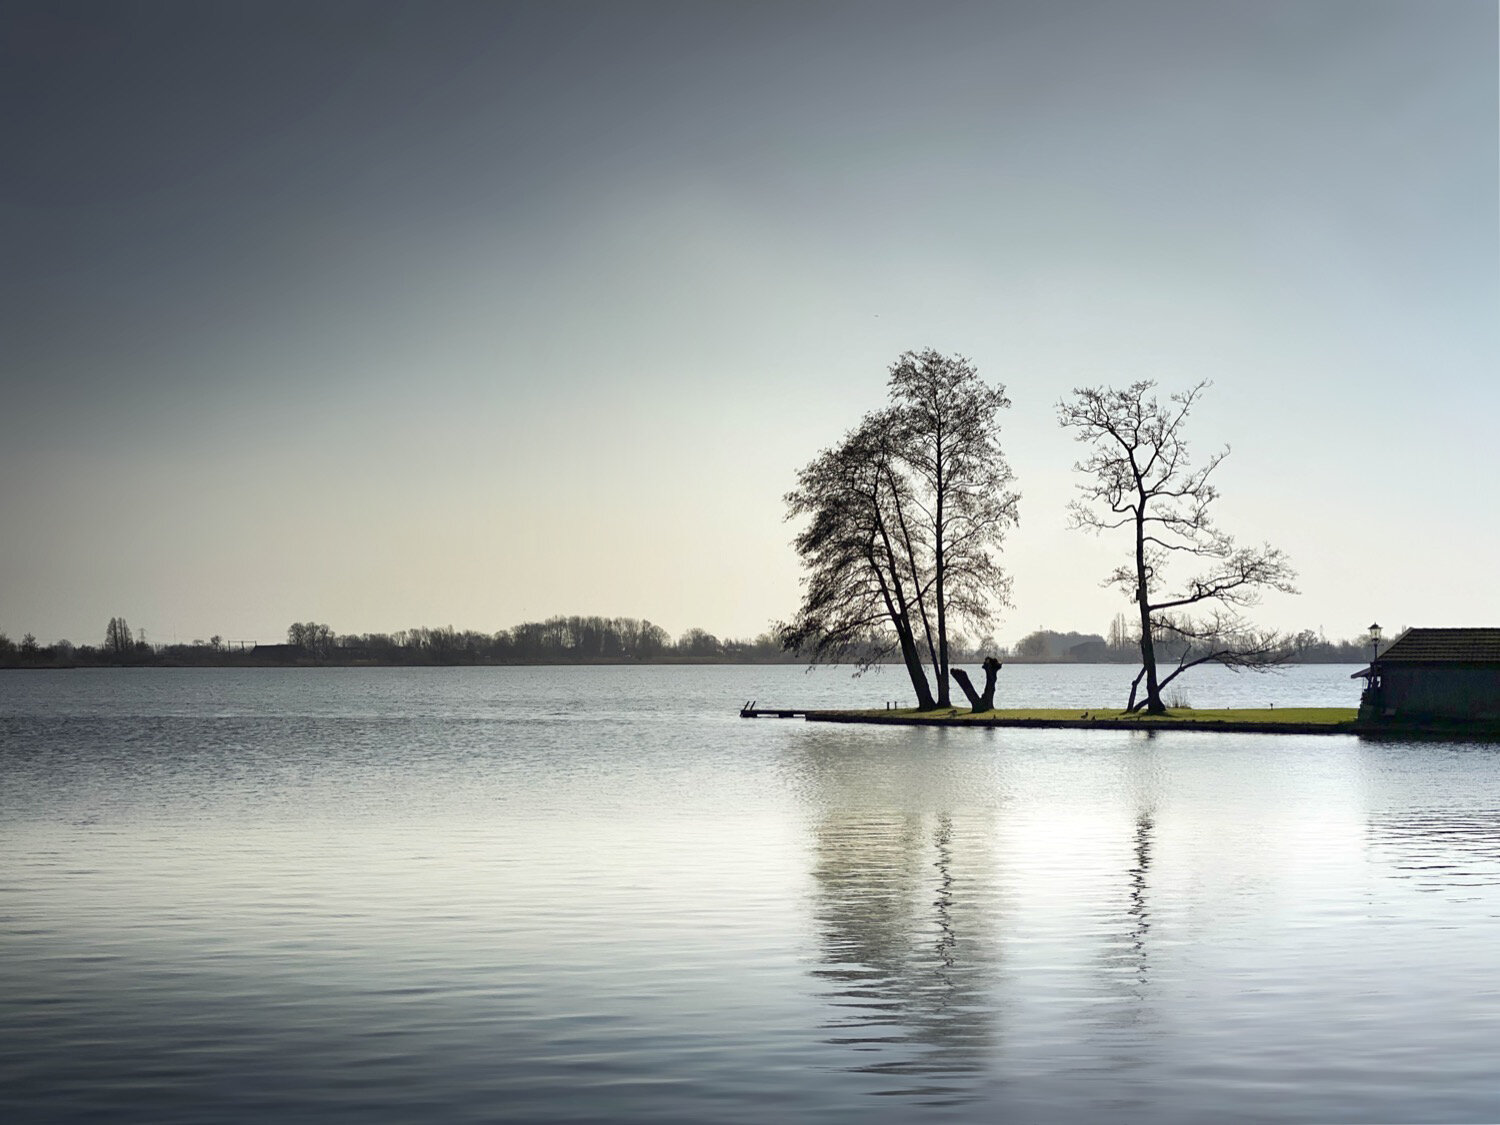
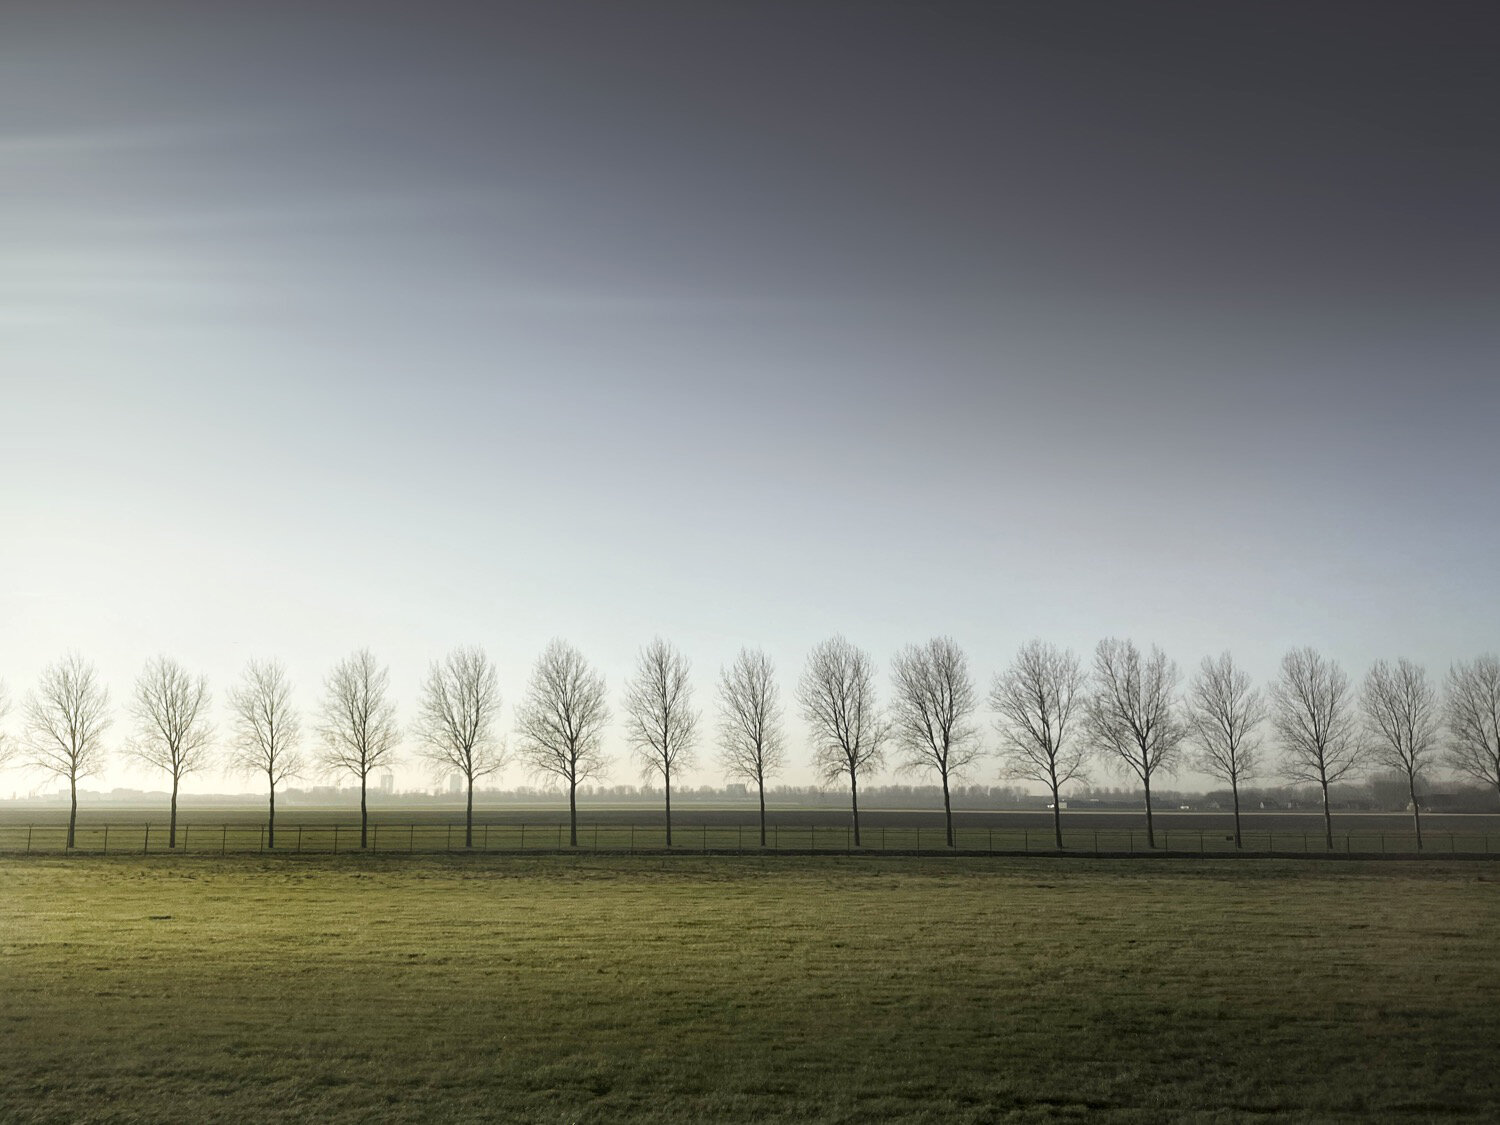
My trademark photography is all about Silence, and I have been developing this aspect of my work for several years. The Silence series are created of interest for the absence of sound witnessed in different locations around the world. Capturing the feeling invoked by the place, all these places have a certain tranquillity where remoteness stands out. It forms my passion for capturing still images that encapsulate serenity and a peaceful feeling. Since I find it interesting to see the iPhone’s capabilities in this area of photography, I have produced these Silence series, taken with the iPhone 11 Pro Max. Read more about the #shotoniphone series here.
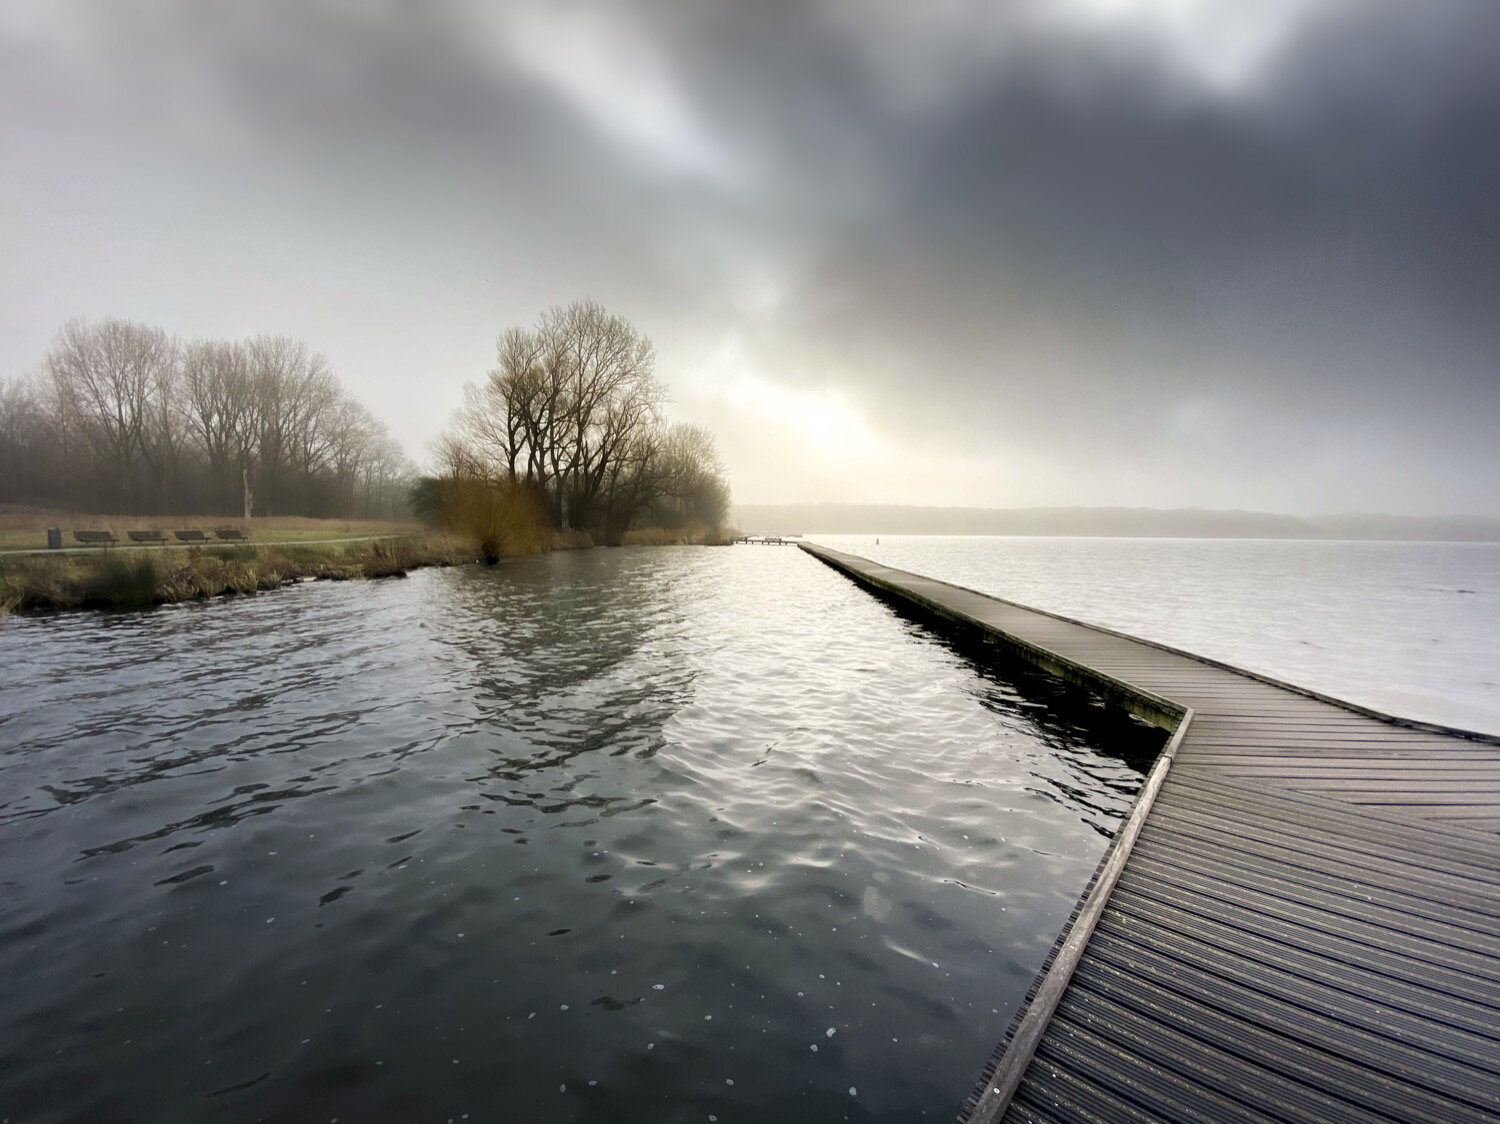
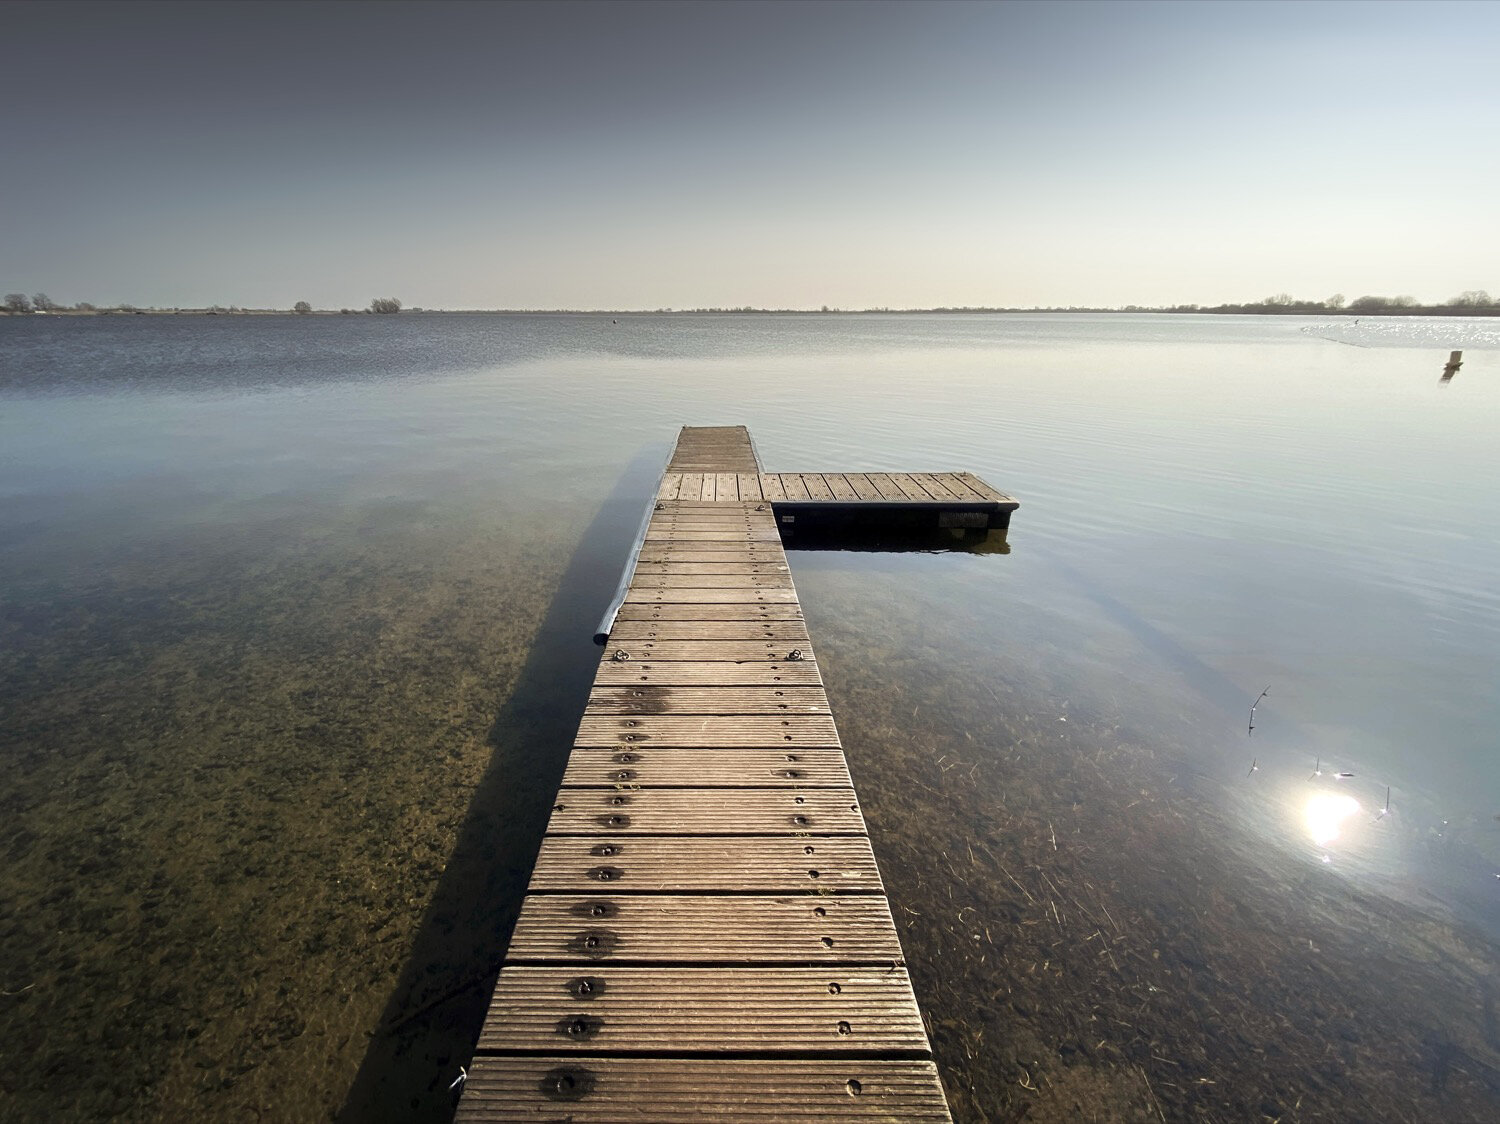
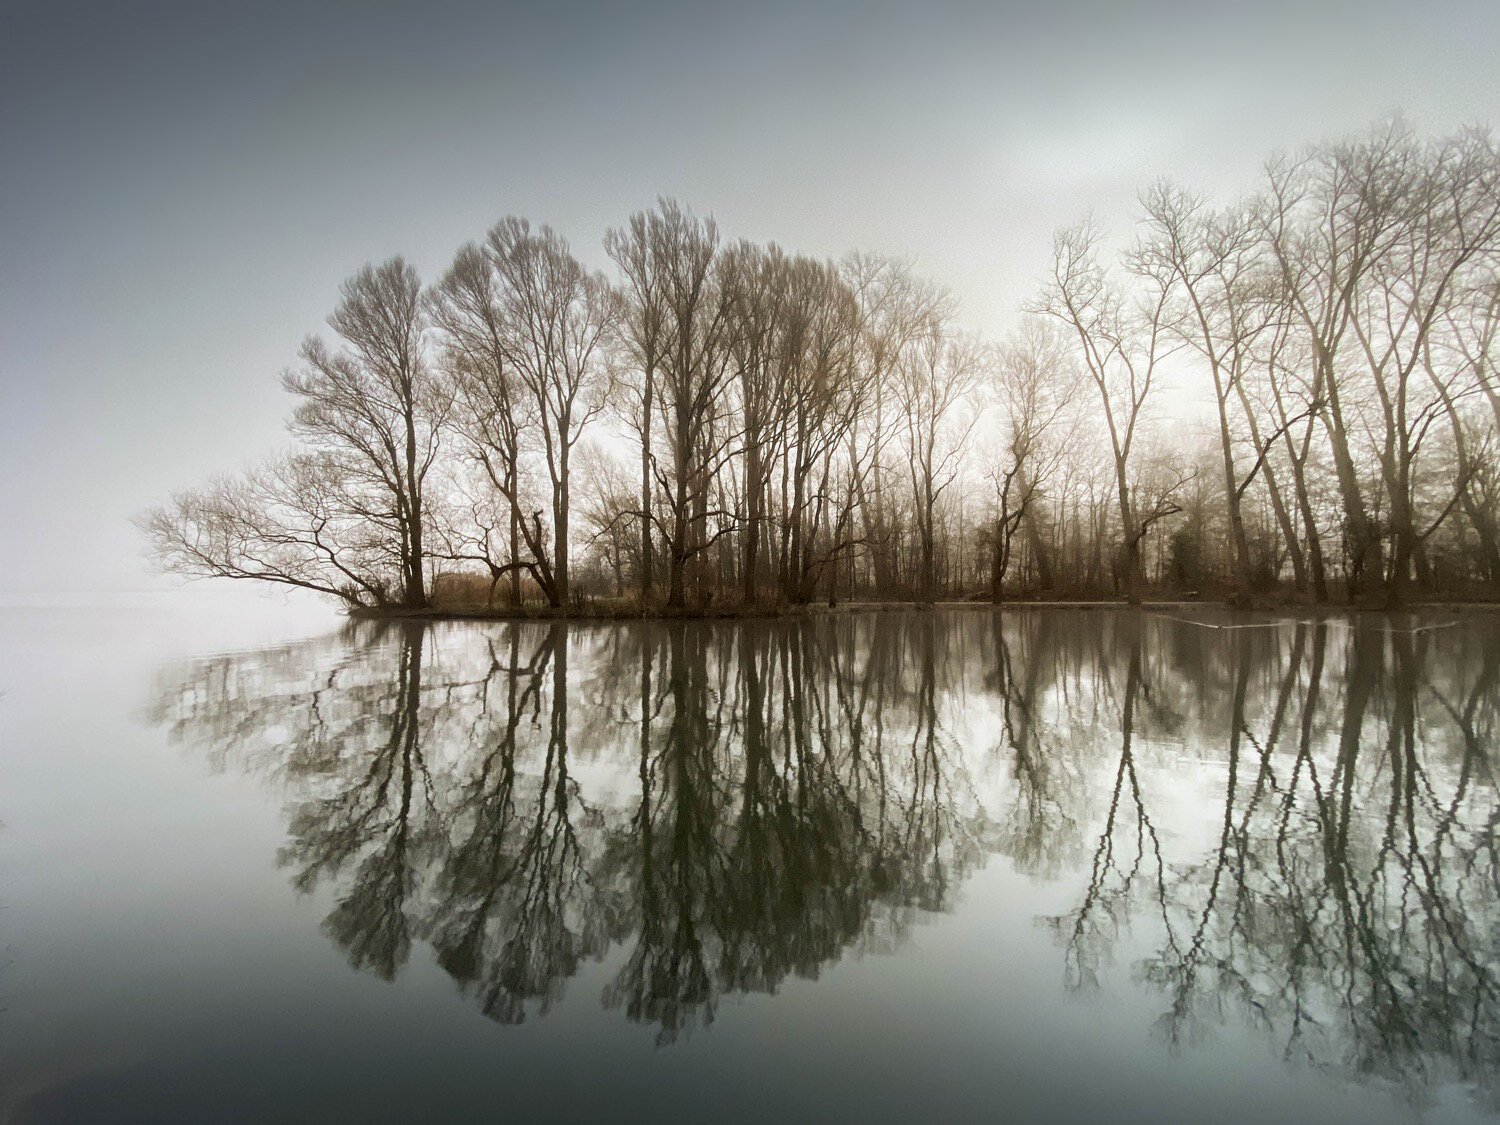
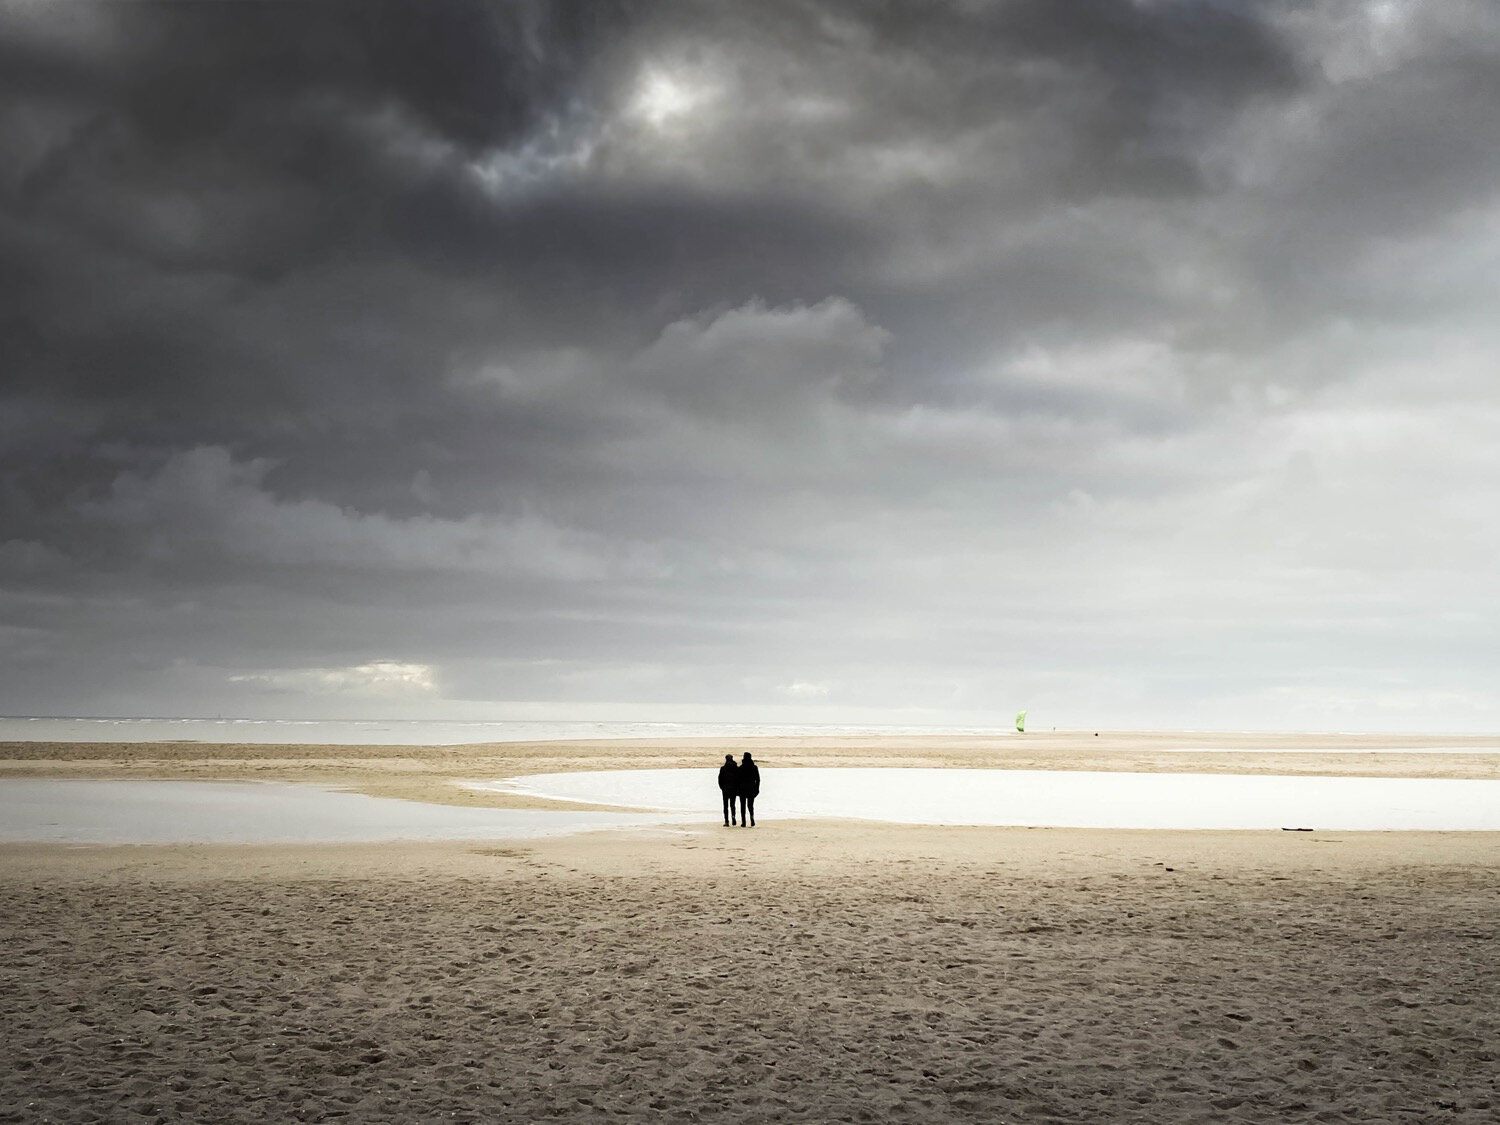
Best smartphone for photography
As you know, you can find so many bits of information about Smartphones and articles telling you which is the best and which is not. For me, Apple is a reputable brand that makes reliable products, and as a photographer, that is what I look for first and foremost. All other factors go into consideration, but as long as the phone is reliable and the build quality will last, then I am delighted. With that said, it is the ease of use and it’s perfect simplicity that makes me choose this iPhone over other smartphone devices. The next element I look for is the lens capability and how this will affect my photography and what I want to create. Within my DSLR set up, I have all the lenses I need and the significant extras to support and enhance my photography capabilities. In the iPhone 11, all of the lens functions are built into the camera for apparent ease of use. The iPhone 11 Pro makes the most beautiful pictures and with all its amazing features, is a great tool for a professional photographer to work with. The images you will make will be just as good as pictures you would take with a professional camera. And.. the phone is something you always carry with you.
UPDATE
The new iPhone 12 and iPhone 12 Pro Max were introduced in October 2020. They have amazing camera’s too! The new iPhone 12 is certainly something to take into account, considering there have been some new additions to the phone, such as 5G connectivity, better quality video streaming, and also quite important, the camera improvements in the new iPhone 12, compared to the iPhone 11. There is a better Ultra Wide camera, which lets in 27% more light for better performance in low-light conditions, along with 2x optical zoom, and 5x digital zoom. Because of the new computational photography features with better than ever Deep fusion for improved photo’s with more texture, and improved Night Mode, with better contrast in images. Something worth testing soon!
You might also be interested in:
SIGN UP TO RECEIVE
MY LATEST NEWS AND UPDATES!
GET THAT SILENT LOOK WITH
MY ADOBE LIGHTROOM
EDITING PRESETS PACKS:
A collection of Landscape photography Adobe Lightroom Presets Packs by the signature of Dutch photographer Claire Droppert. She captures Sounds of Silence from all over the world. Presets with a desaturated, simplistic and calming effect.
